Kerika’s Task Boards are so easy to set up and use that teams sometimes make the mistake of sticking everything on the same board, week after week and month after month, until the board becomes really too big to be useful.
The Kerika software itself doesn’t buckle under the weight of hundreds of cards on a single board (and, to be honest, we are also guilty of sometimes doing very large Scrum iterations that turned over a few hundred cards -.-), but just because the software works fine doesn’t mean the practice makes sense.
The most common way for a Kanban board to get overcrowded is for it to be used for too long: the Done column gets bigger and bigger, as more work gets completed each week, until you end up with a very lop-sided looking board with perhaps 20-50 items in “To Do”, and maybe 1,000 items in “Done”.
When presented with a board that contains hundreds or even thousands of items in Done, it’s hard for individual team members to get visual satisfaction from seeing cards move over to the Done column on a regular basis: as work gets done, it seems to vanish into this endless pile of other work that’s already been done.
Teams and, especially, Project Leaders should not underestimate the value of this visual satisfaction of seeing a well-balanced board, with about the same number of items in “To Do” (or Backlog, or Pending, or whatever you choose to call your parking lot) and in the “Done” column, with an even-looking distribution of items in the columns in the middle.
(The simplest Kanban board may just have three columns: To Do, Doing, and Done, but Kerika makes it easy to have far more complex workflows, and to capture your organizations’ best practices as a collection of process templates.)
If a Kanban board is going to be used for an extended period, say several months or more, then we recommend create a parallel History Board that can be used to track the historical achievements and progress of the team. Here’s how this scheme works:
- Create a board called “History Board 2014”. (The name isn’t particularly important.)
- Organize this boards with columns that look like this: Jan 2014, Feb 2014, Mar 2014…
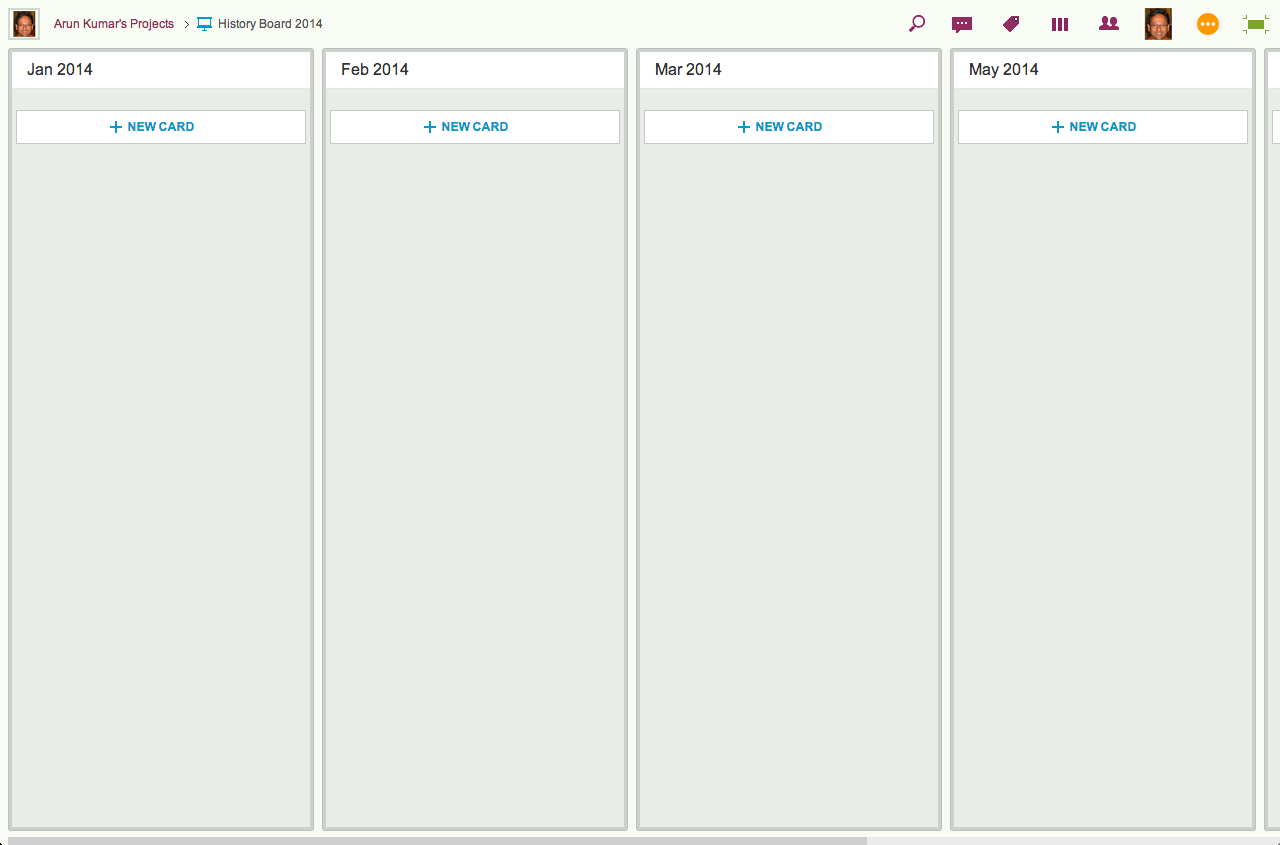
We will use these columns to hold all the cards that were completed in that particular month. So, for example, the Jan 2014 column would contain everything that was completed in January 2014.
- At the end of every month, pause for a moment to celebrate your team’s accomplishments for that month. (Order in some beer and pizza and maybe pause for longer than a moment…)
- Move all the items that in Done onto the History Board: use Kerika’s cut-and-paste feature, which will let you move a bunch of cards intact, along with their history, chat, attachments, etc., from the Done column of your main Kanban board to the appropriate column in your History Board.
Laptop users will find their right-mouse click menu handy for this: click on a card in the Done column, do “Select All” from the right-mouse menu, and then do a “Cut”. Once you have cut (or copied) anything into your Kerika Clipboard, a Paste button will automatically appear at the top of each column, on each board where you can make changes.
So, Cut from Done on your active board, go over to your History Board, and then do click on the Paste button at the top of the appropriate column, e.g. the August 2014 column.
This simple method lets you achieve two objectives at the same time:
- It’s an easy way to trim the size of your active Kanban board: by taking out the “Done” stuff each month you can stop it from ballooning in size over time.
- It’s an easy way to create a comprehensive historical view of everything your team has achieved over time: go over to the History Board and you can see how work got done over an entire year. (Might be useful at performance review time ;-)
A side-benefit: your active Kanban board will load a lot faster if it doesn’t get overloaded.