This template can be used to set goals and deliverables, assess performance, manage career growth, and get needed training to master knowledge and skills.
Performance management and career development is an ongoing process: it’s not done just once a year; it requires continuous follow-up, adjustment when needed, and giving feedback.
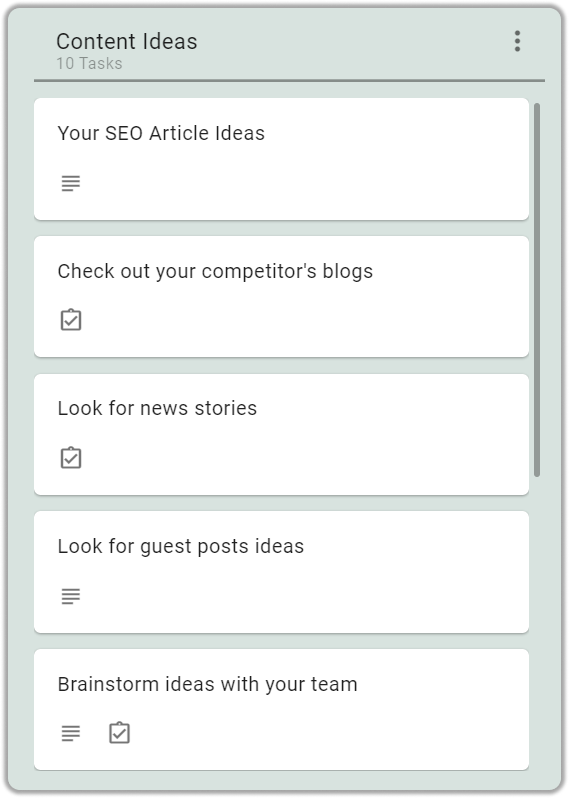
Your main deliverables:
- Matching an employee’s performance to desired objectives
- Identifying and addressing performance gaps
- Implementing personal development plans
- Assessing the employee’s performance after implementation
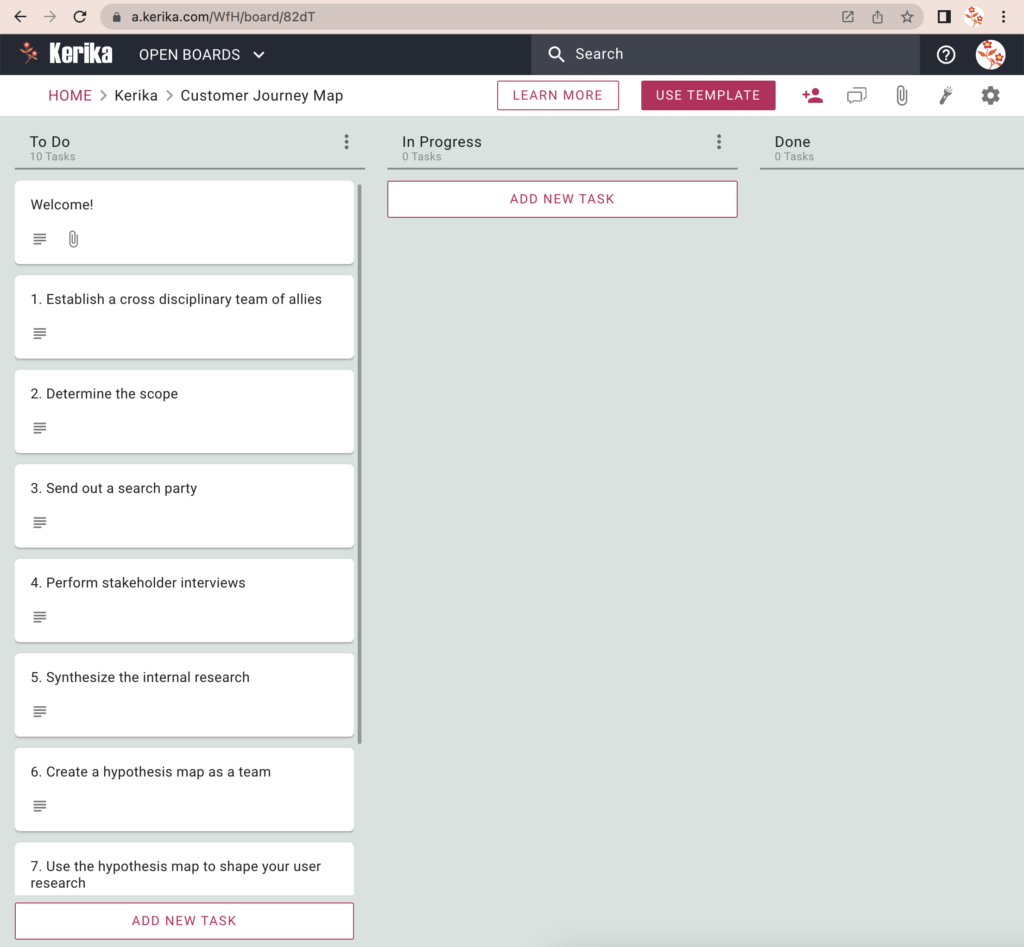
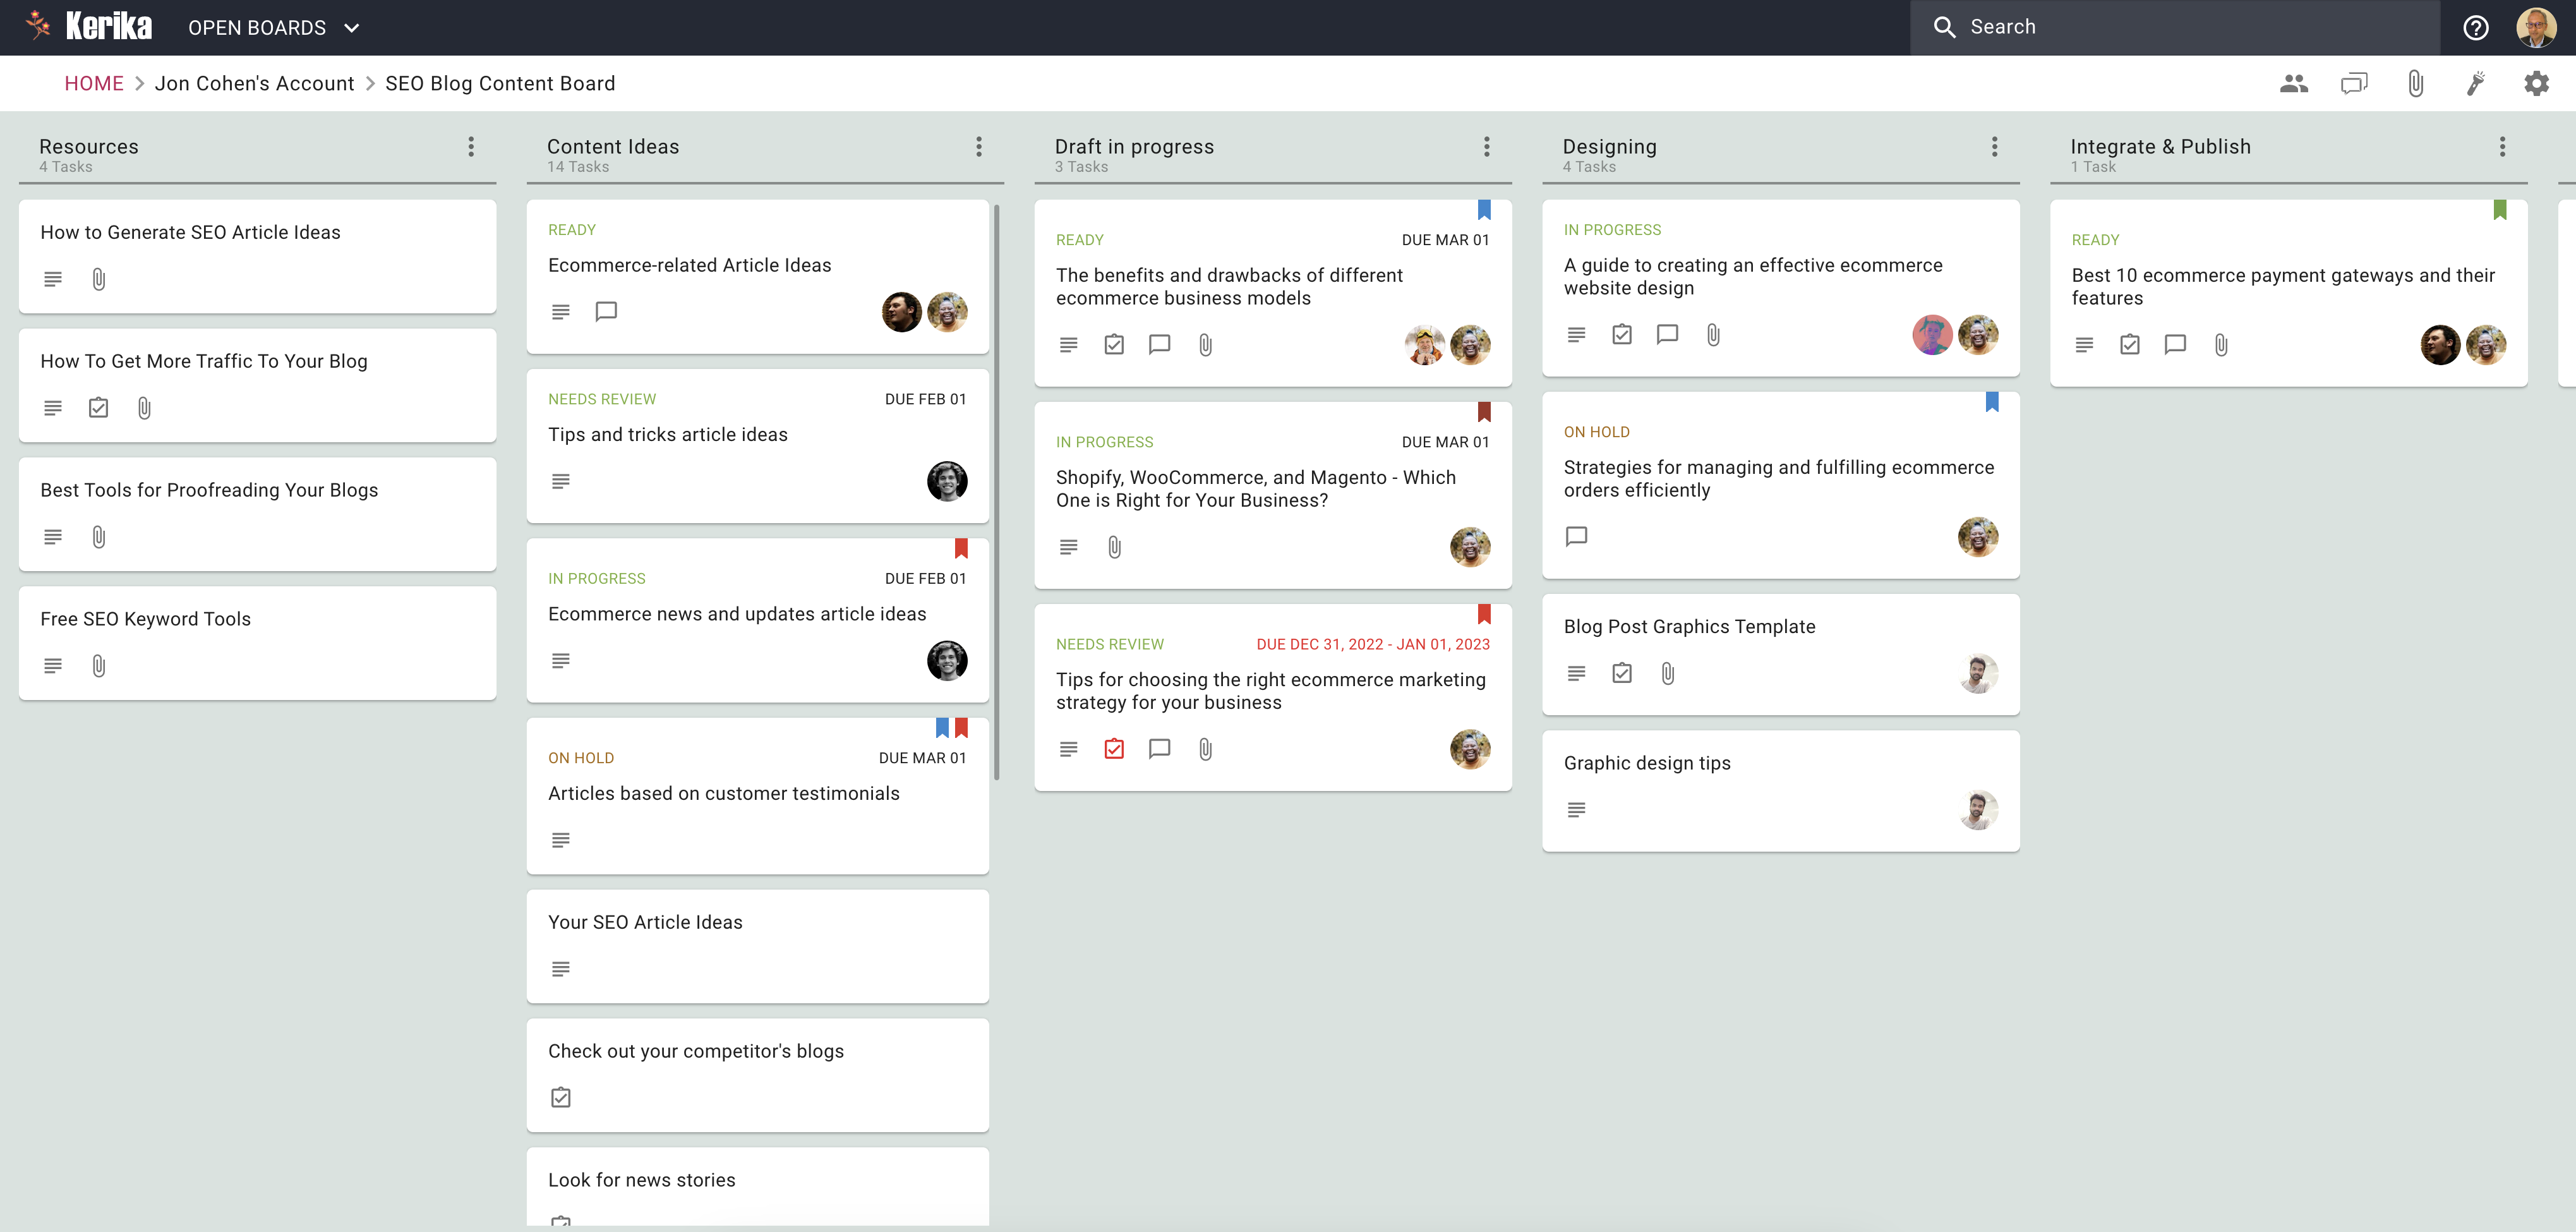
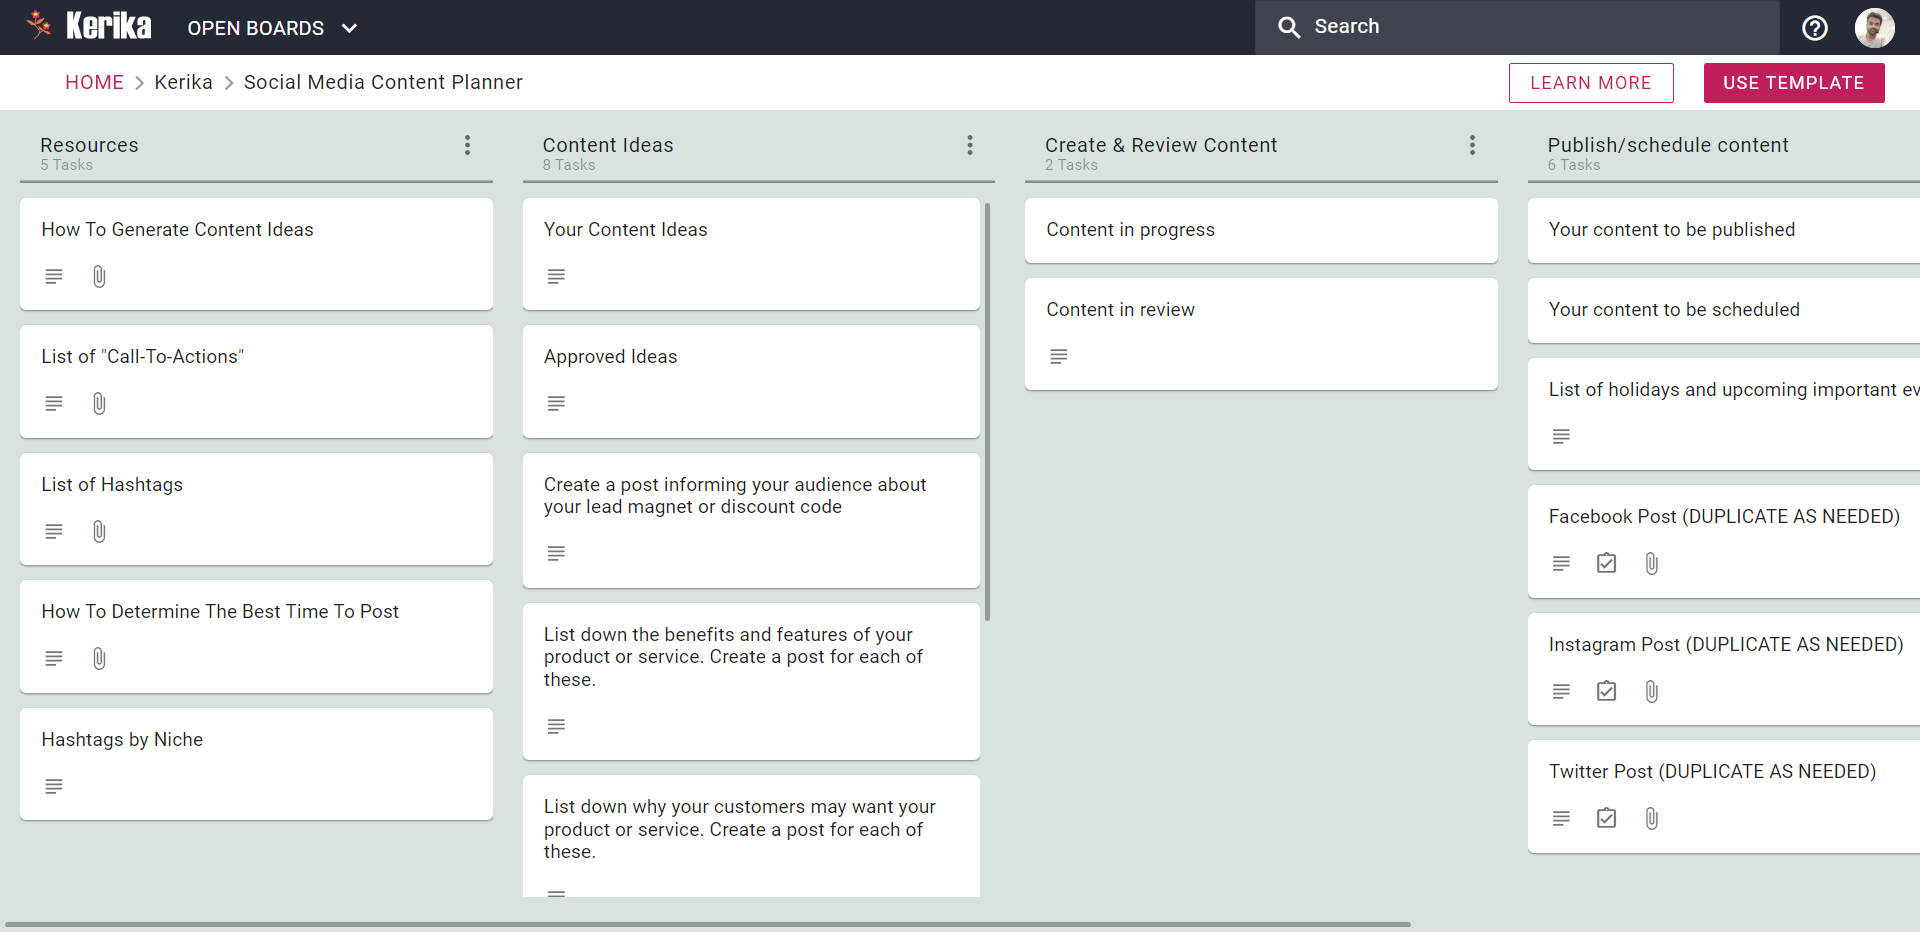
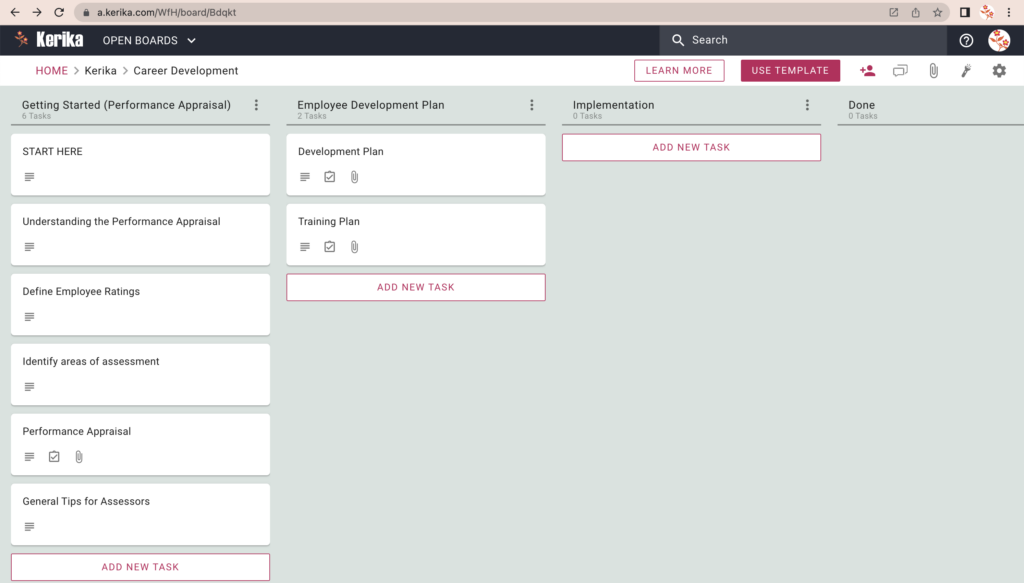
How to use this template:
-
Click on the USE TEMPLATE button on the top-right of the app and create your own Task Board; Kerika will set it up as using this template.
-
If you are going to do it with others, add the people to this board’s team as Team Members. (Use the Board Team button on the top-right of the board.)
-
If you have other stakeholders, e.g. management, add them as Visitors to this Board Team: they will be able to see what’s going on, but not make any changes.
- Start with the leftmost column, and pick up tasks one by one:
-
The tasks are in order, so start at the top.
-
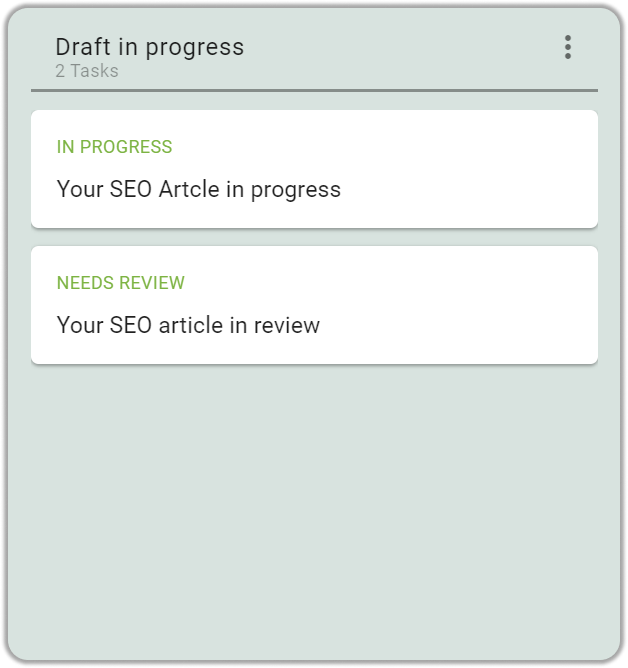
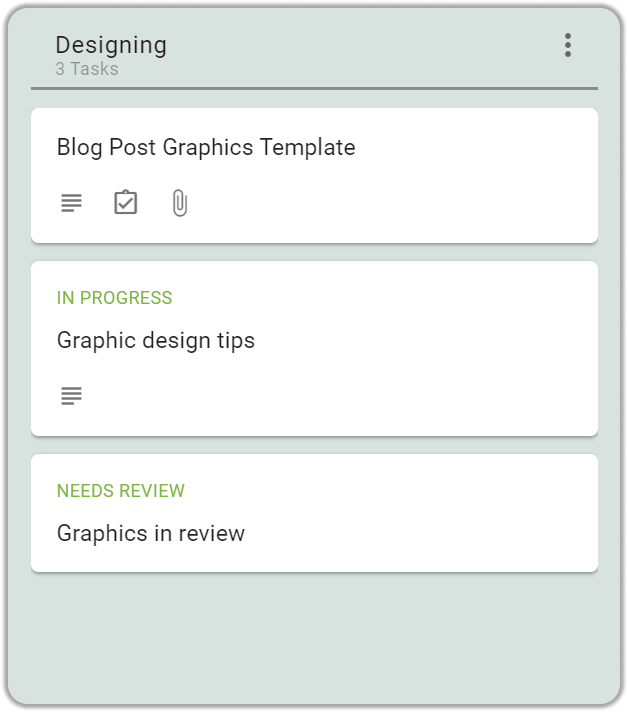
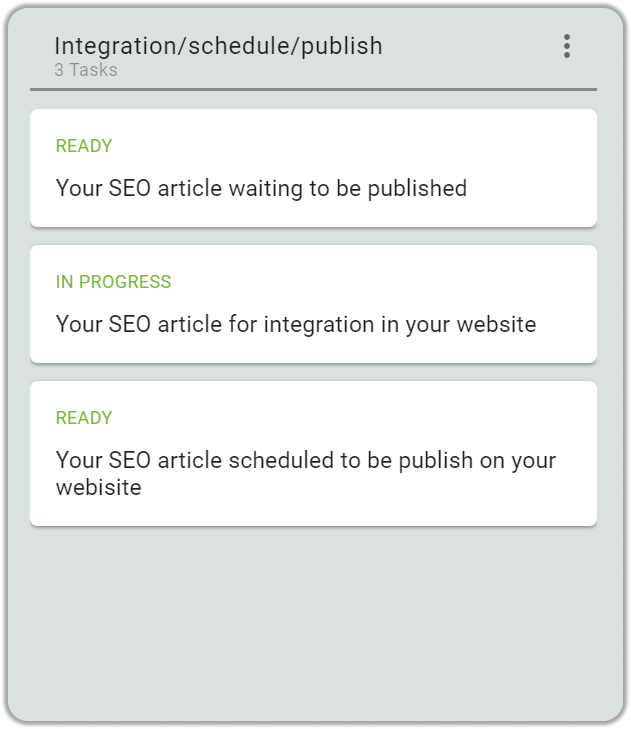
Set the status of the task to IN PROGRESS so everyone knows that it has started.
-
Assign the task to yourself or your Team Members: you can assign tasks to more than one person.
-
Set a due date! This really helps in getting stuff done; Kerika will then alert you when things are slipping.
-
As work proceeds, use the chat feature to communicate within the team.
-
As you take photos or create contracts, be sure to add them to the tasks as attachments; Kerika will make sure they stay with the tasks so they are always easy to find.
-
- Once a task completes, move it to the Done column.