Here’s a quick primer on how to delete projects you are no longer working on, and how to retrieve them later from your Trash (think “Recycle Bin” if you are a PC user) if you change your mind.
The first point to note is that closing a project is not the same as deleting it: when you are looking at your Boards view, you can have several projects open, each in its own tab. If you hover over any of the project tabs, you will see an “x”: clicking this will close the project.

This is a lot like closing a browser tab: it doesn’t kill the website that you were viewing; it just means you are no longer viewing it yourself. In the same way, closing a project tab doesn’t delete the project.
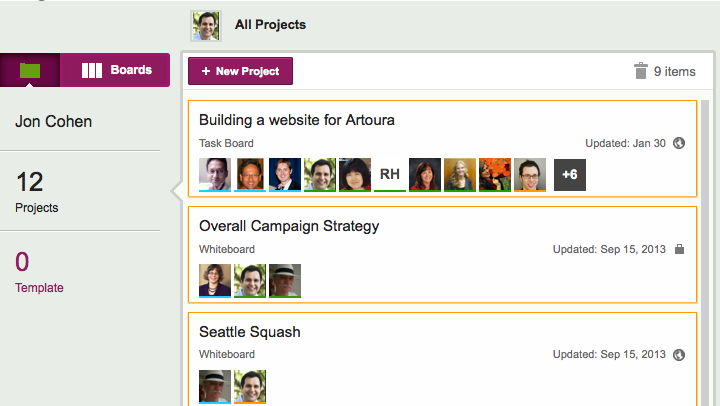
If you actually want to delete a project, click on the “Projects” button, in the top-left corner of the Kerika app (as shown above), and you will see a list of all your projects:
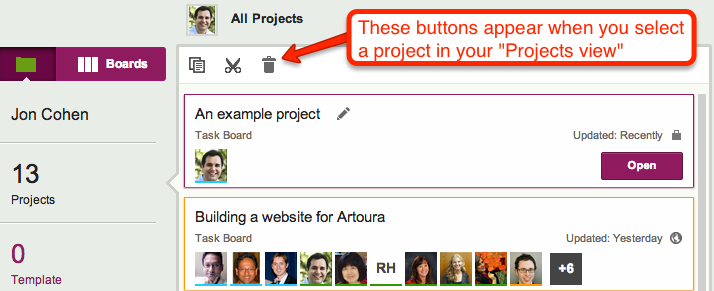
Here, you can select an individual project, and then Cut, Copy, or Delete it:
These buttons also appear when you use your right-mouse button, while working on a desktop or laptop:
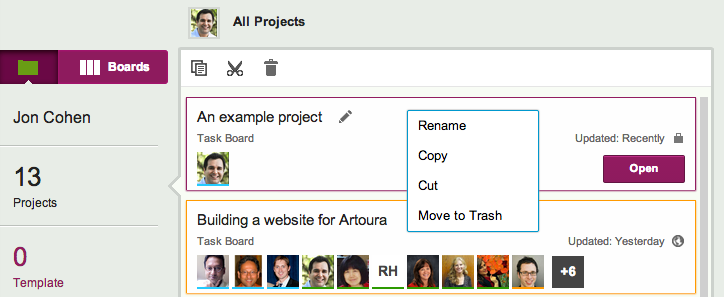
If you click on the Trash button (or select “Move to Trash” from the right-click menu), your project will get deleted.
Deleted projects go into a Trash, which is like a Recycle Bin: you can retrieve it later if you change your mind or make a mistake.
The Projects Trash appears just above your list of projects:
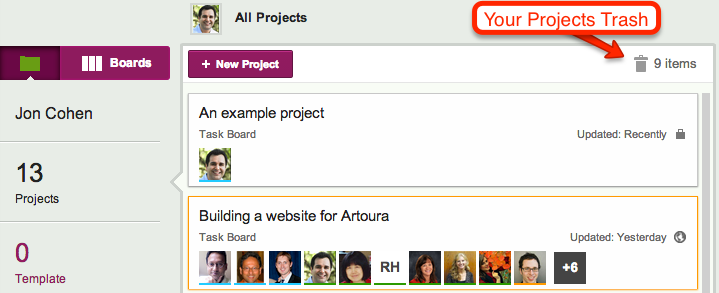
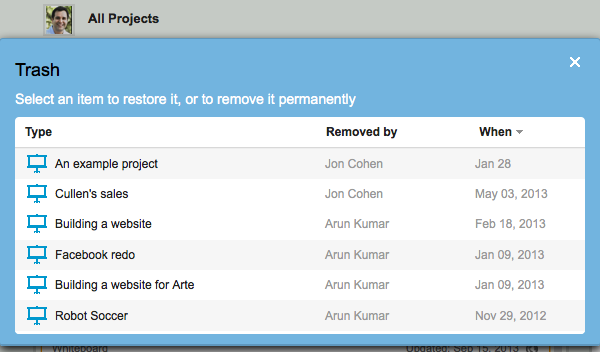
Whenever a project is moved to the Trash, the Project Trash button glows orange, briefly, to alert you. Click on the button and you will see a list of all the projects that are in your Projects Trash:
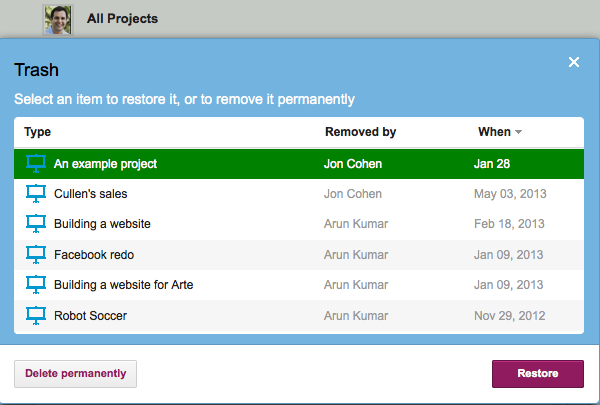
You can now select an individual project, and choose to either restore it, or delete it permanently:
So, that’s it: a simple way to delete projects, and retrieve them later if you made a mistake.