If you’re a business owner or a freelance content writer, it’s important to have a content strategy. Without a solid content strategy, you end up wasting a lot of time managing your content.
By having a solid plan and sticking to it, you won’t have to spend time coming up with new ideas or scrambling to meet deadlines. One of the best ways to build a content strategy is to use a content planner.
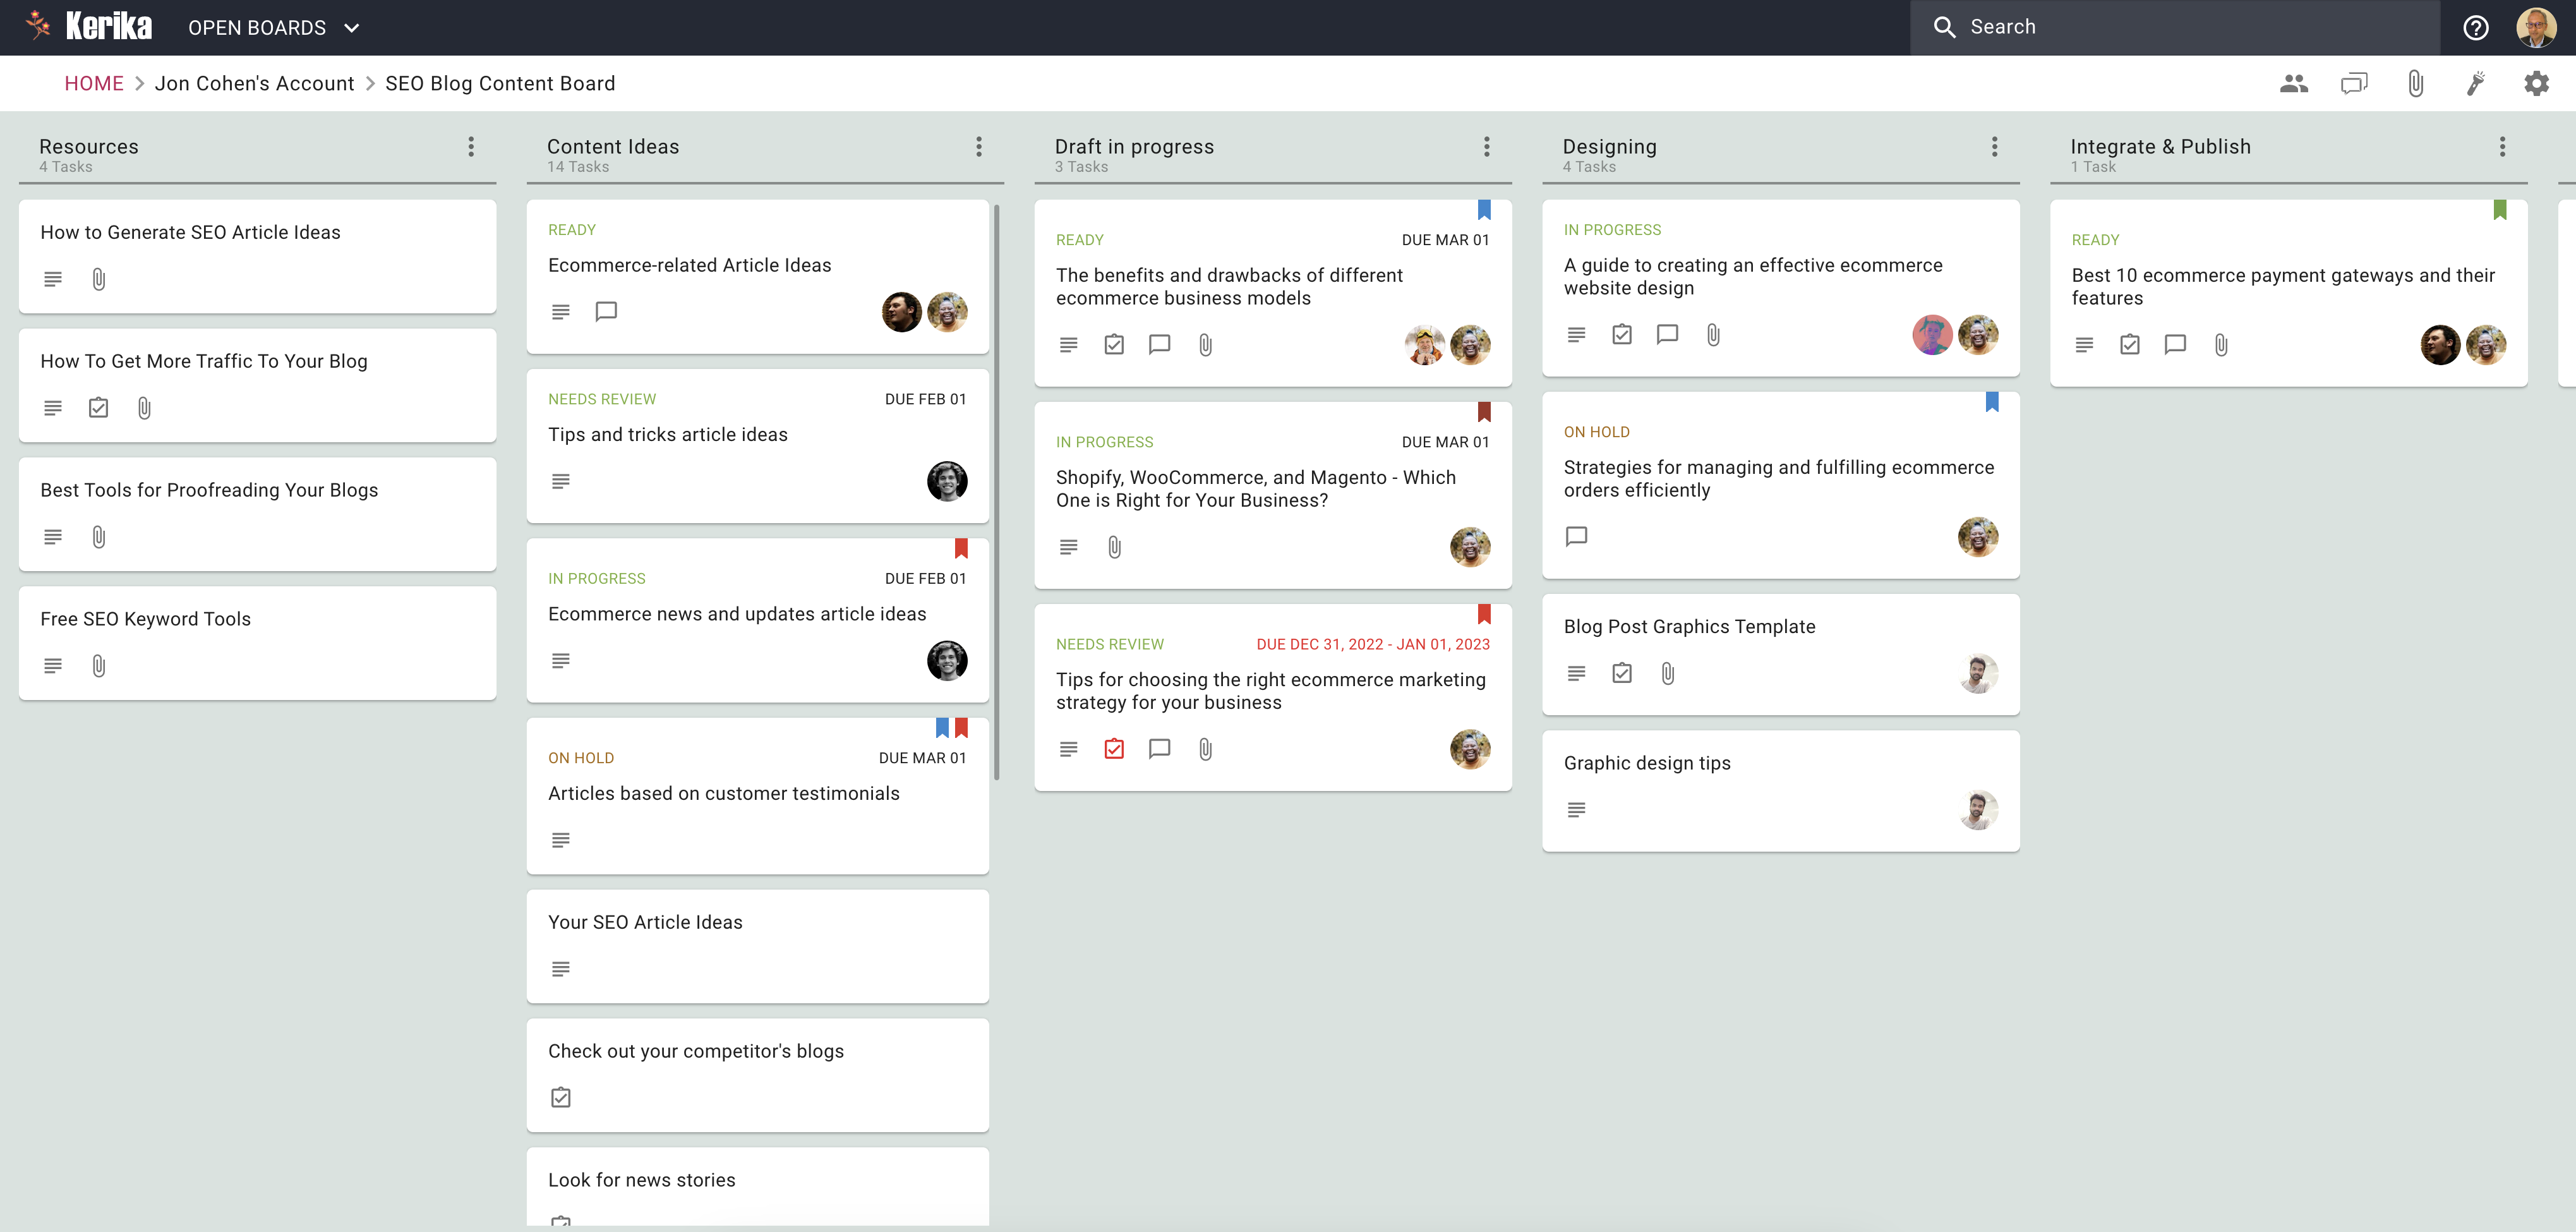
A Sample Board to View
Whether you’re working alone or with a team, a good content planner can really boost your productivity. So, let’s see how this company uses a content planner to plan and publish its SEO content.
A Free Template to Use
If you found this board interesting, here’s a free Template from Kerika that you can use to set up your own board in just seconds:
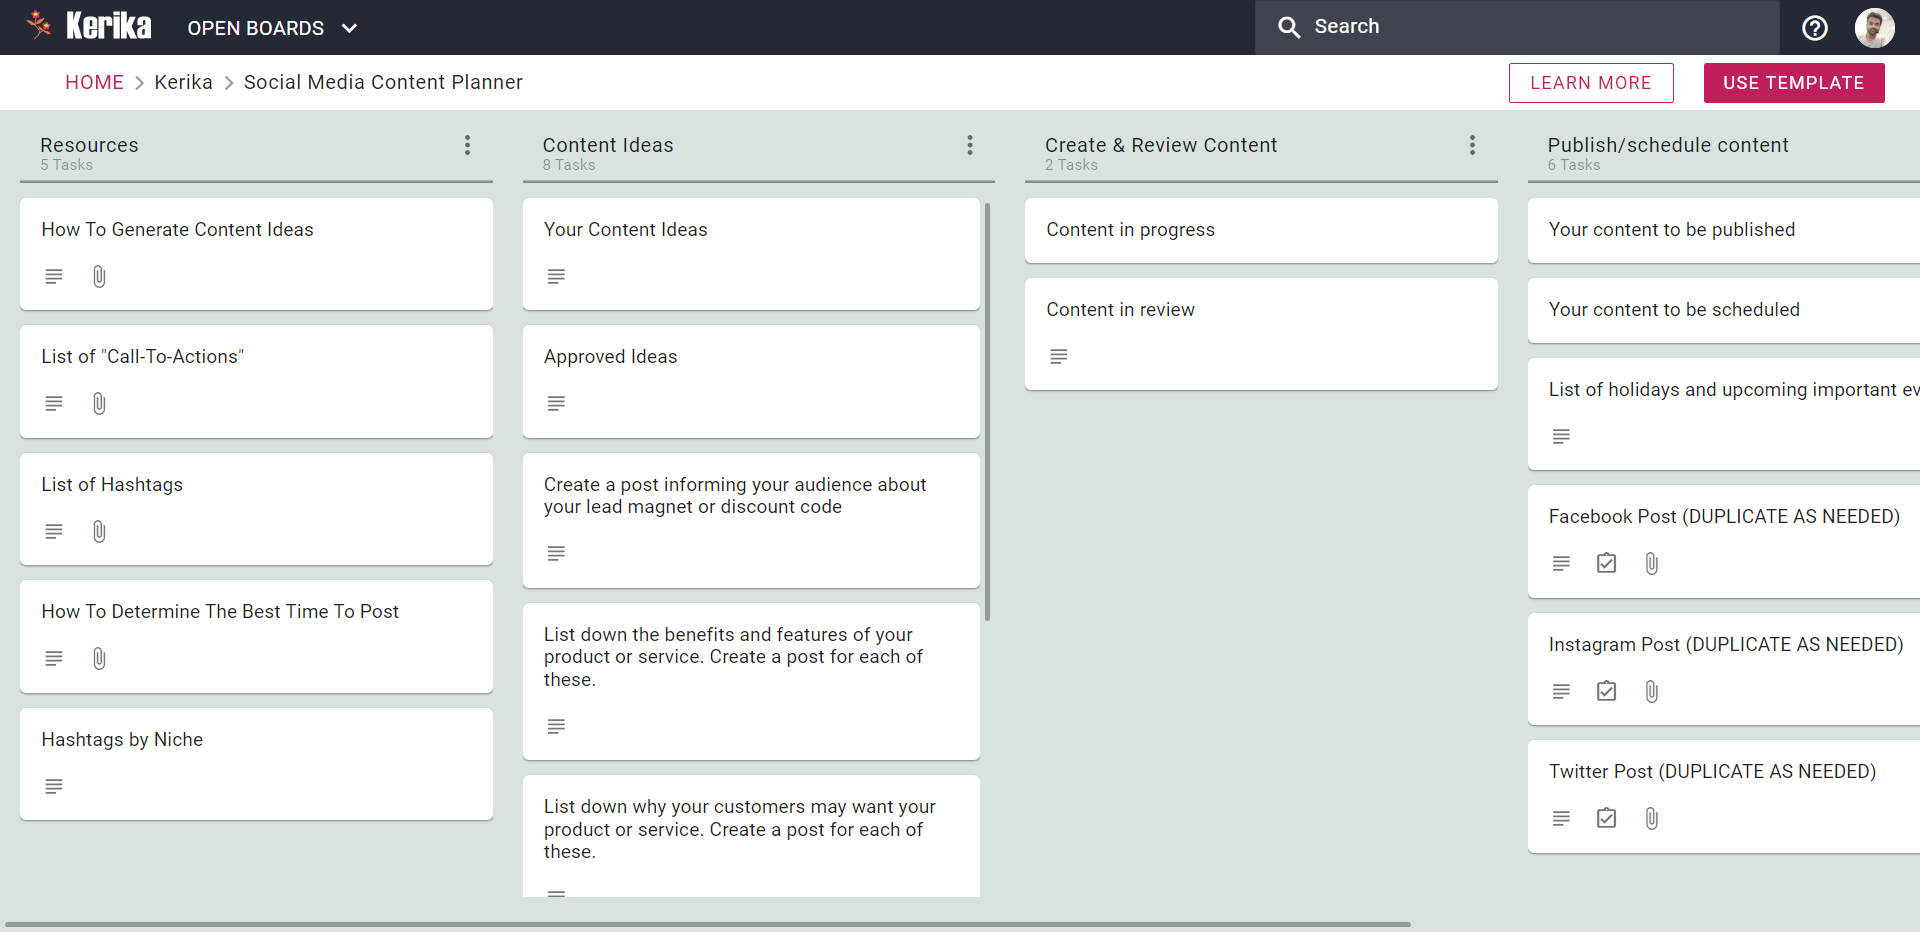
The rest of this article will walk you through the process of using this template:
Step 1: Gather resources
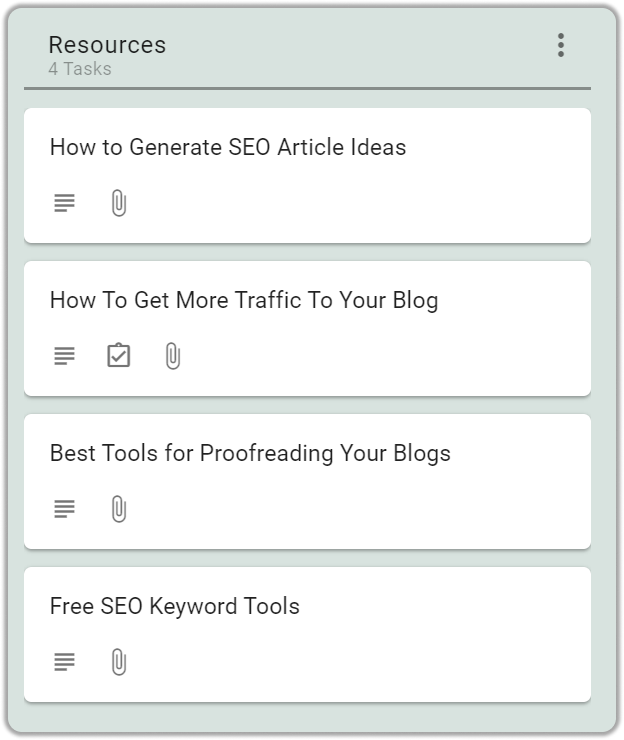
If you’re a serious content writer, you already know the importance of gathering resources before you start writing. After all, you need to have something to write about!
One of the best ways to manage your gathered resources is to use a Content Planner. A Content Planner can help you organize your thoughts and ideas, and it can also help you find new and relevant information to write about.
Step 2: Research Content Ideas
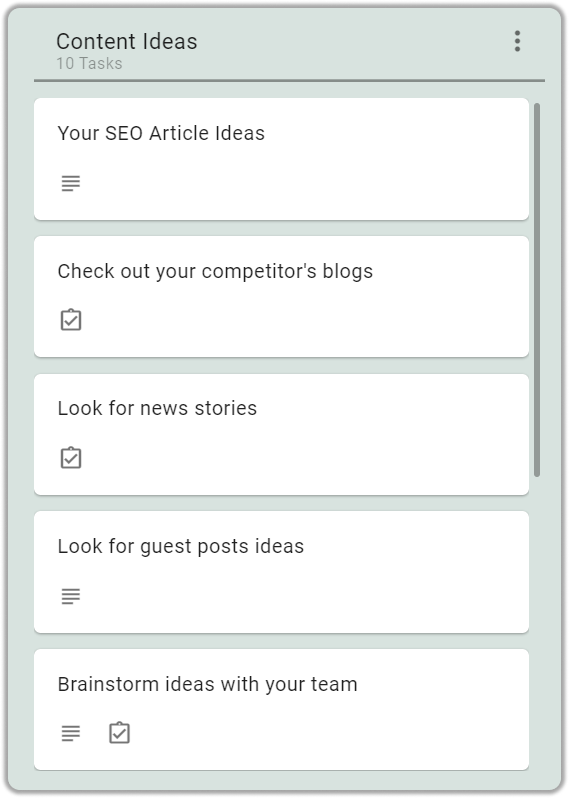
Before you start writing, you need to have an idea of what you want to write about. Make a list of content ideas that you think would be popular with your audience.
You can get content ideas by checking out your competitors, looking for news stories, looking for guest post ideas, and brainstorming ideas with your team.
Step 3: Drafting
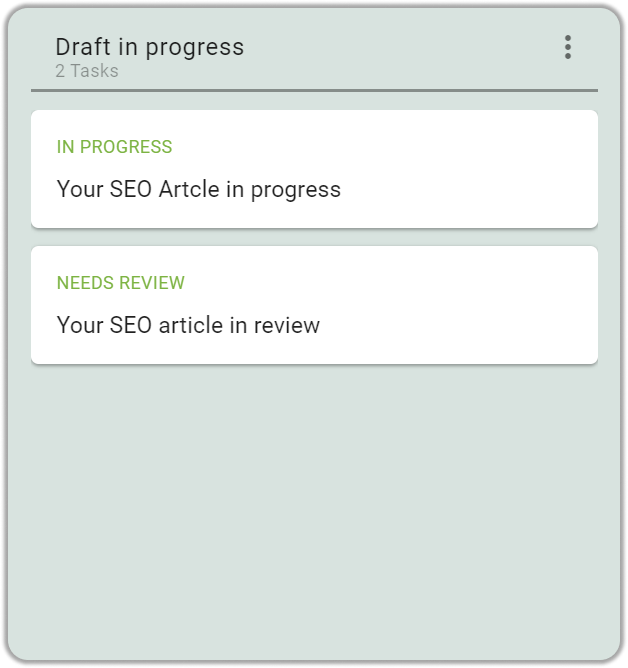
Now it’s time to start writing your content. Keep your keywords in mind as you write and try to include them naturally in your text.
Step 4: Designing graphics content
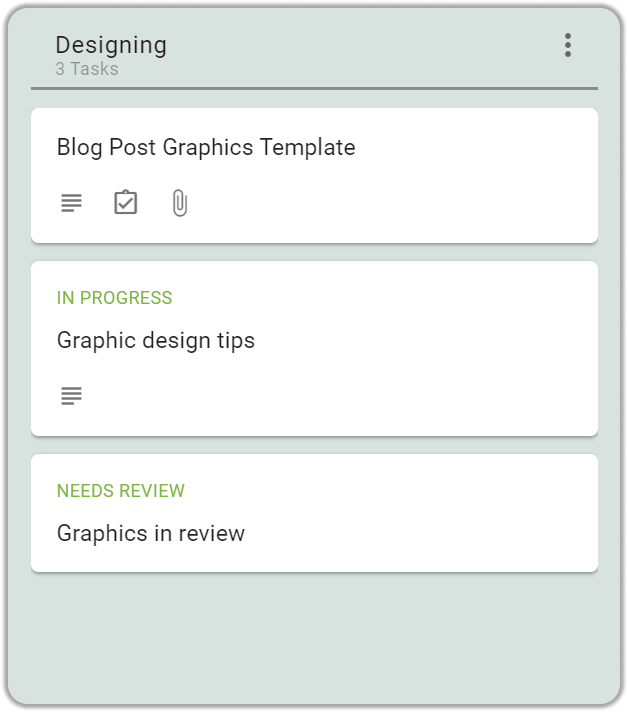
Graphics in blogs capture your reader’s attention, communicate your message more clearly, and overall make your blog more visually appealing.
Once the article is ready, the next step is to add graphics to it. Graphics are important to capture your reader’s attention and make your blog more visually appealing.
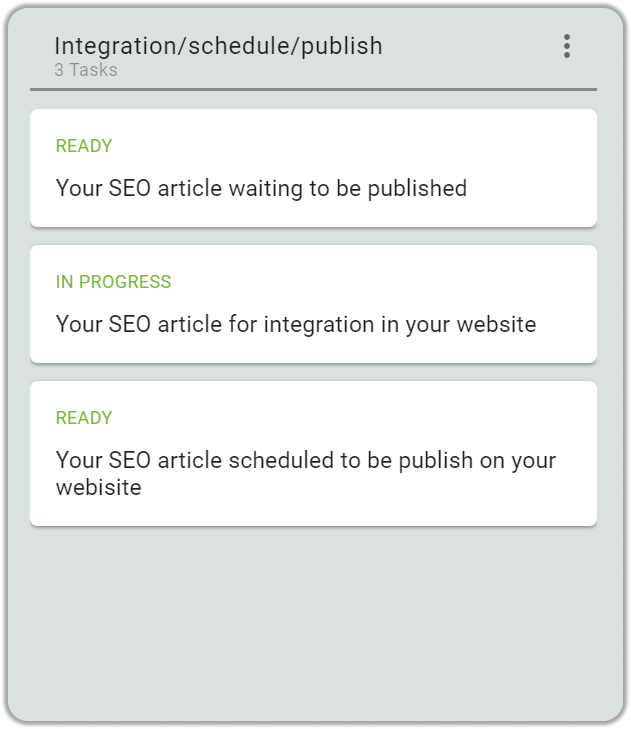
Step 5: Integration/Schedule Content:
Once you’re finished writing, you need to integrate your content into your website. You can do this by adding a blog to your website or by scheduling your content to be published on your website later on.
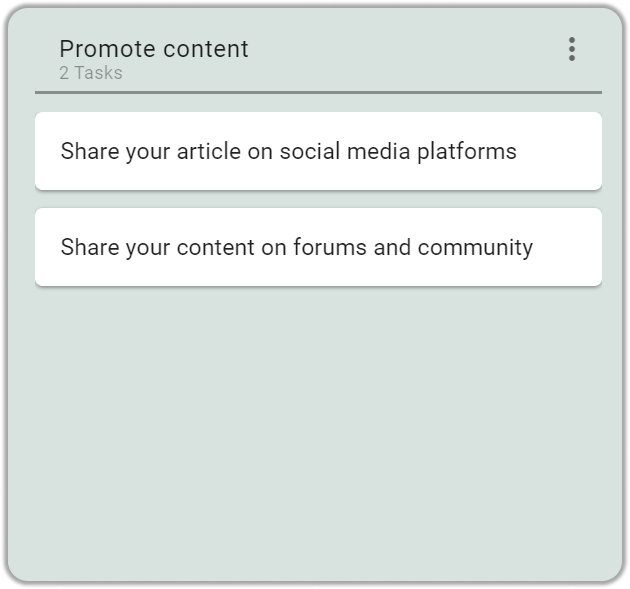
Step 6: Promote Content
Finally, you need to promote your content. You can do this by sharing it on social media, writing guest posts on other blogs, or by paying for advertising.
