Click the image above to open the live template in a new tab
Starting a company is an exciting milestone, but the administrative hurdle of navigating state-specific regulations in Iowa can often feel like a massive logistical barrier. From legal filings to tax registrations, the sheer volume of tasks required to move from a creative spark to a legal entity is enough to overwhelm even the most seasoned professional.
We designed this template to simplify the complex process of setting up your shop in the Hawkeye State. By providing a visual, structured workspace, Kerika helps you manage the administrative overhead of governance and compliance without losing track of document versions. Ready to reclaim your time and productivity? Don’t worry, this guide is here to help you navigate every step of the process. Let’s get started!
1. Who Can Use This
This template is built to support different types of founders as they establish their presence in Iowa:
- Solo Entrepreneurs If you are building your business single-handedly, you need a clear roadmap to ensure nothing falls through the cracks. This template acts as your personal project manager, organising every task from initial research to your official launch in one place.
- Partnership Founders For co-founders, maintaining a “single source of truth” is essential for alignment. This workspace allows you to collaborate in real-time, ensuring all partners are on the same page regarding legal structures and financial projections without messy email chains.
- Startup Teams Small teams can use this board to delegate early-stage setup tasks effectively. Whether you are assigning tax registration to one person and marketing strategy to another, everyone stays in sync regardless of where they are working.
2. What it includes
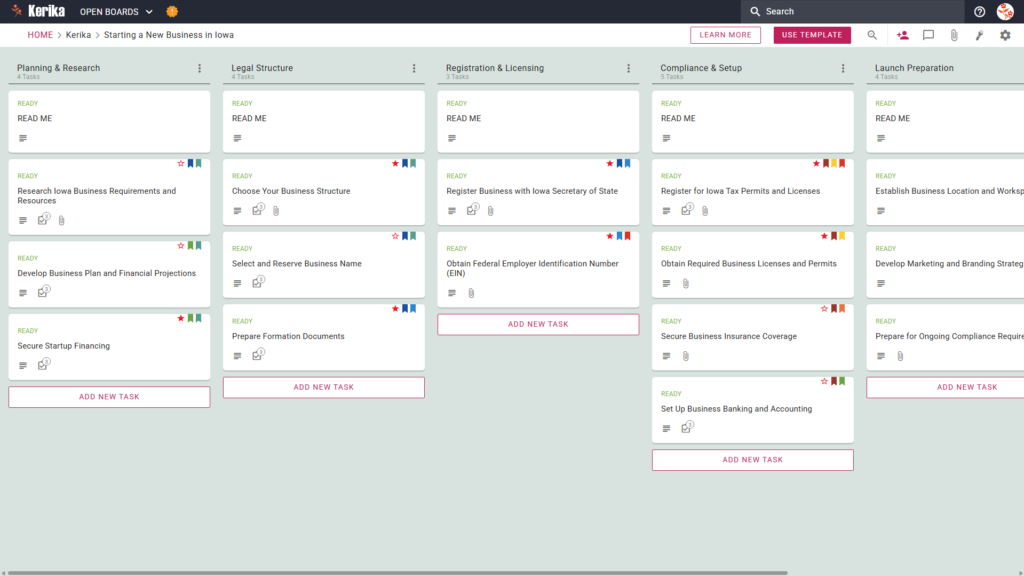
The Starting a New Business in Iowa template provides a comprehensive starting point with a pre-configured, visual layout:
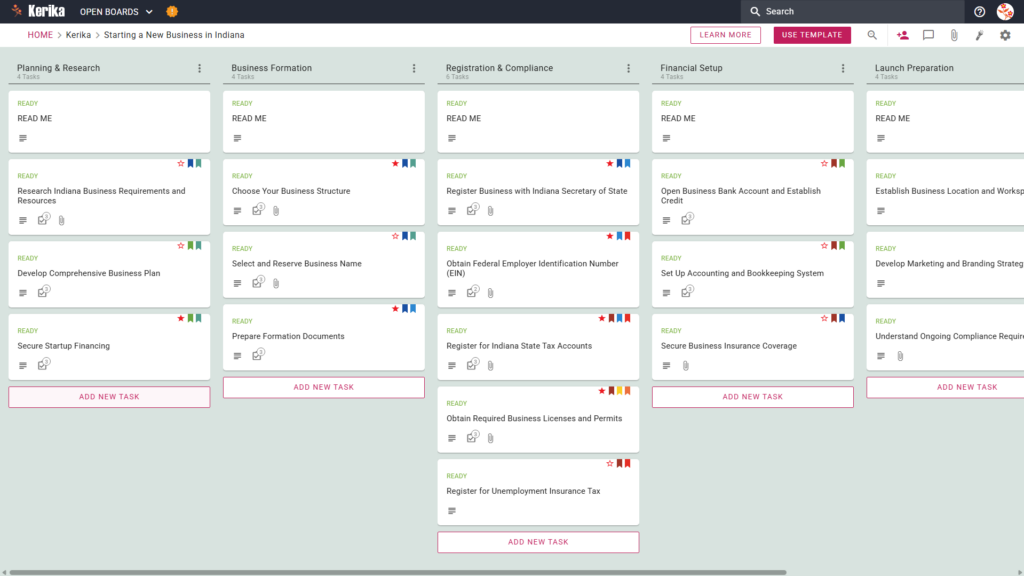
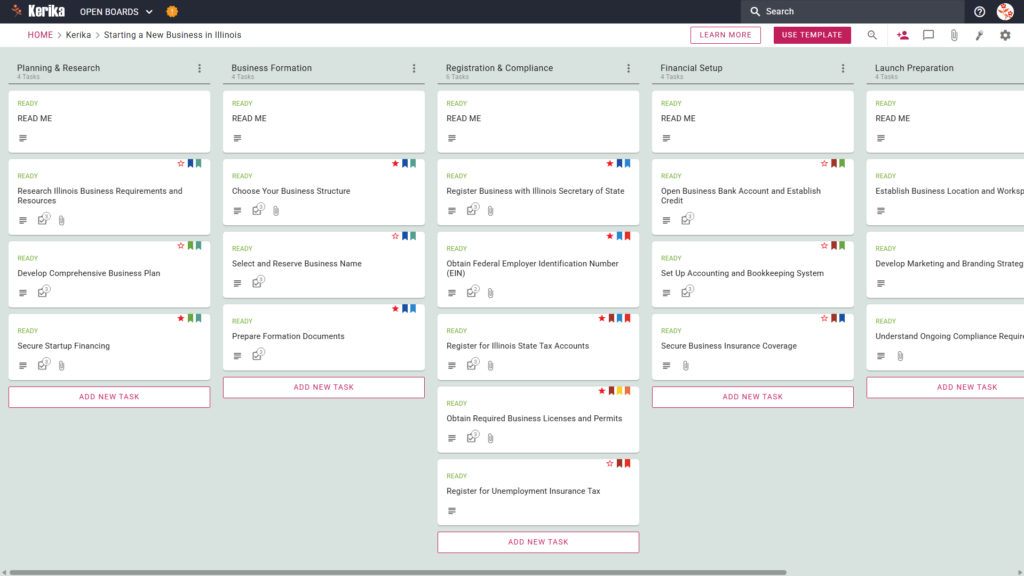
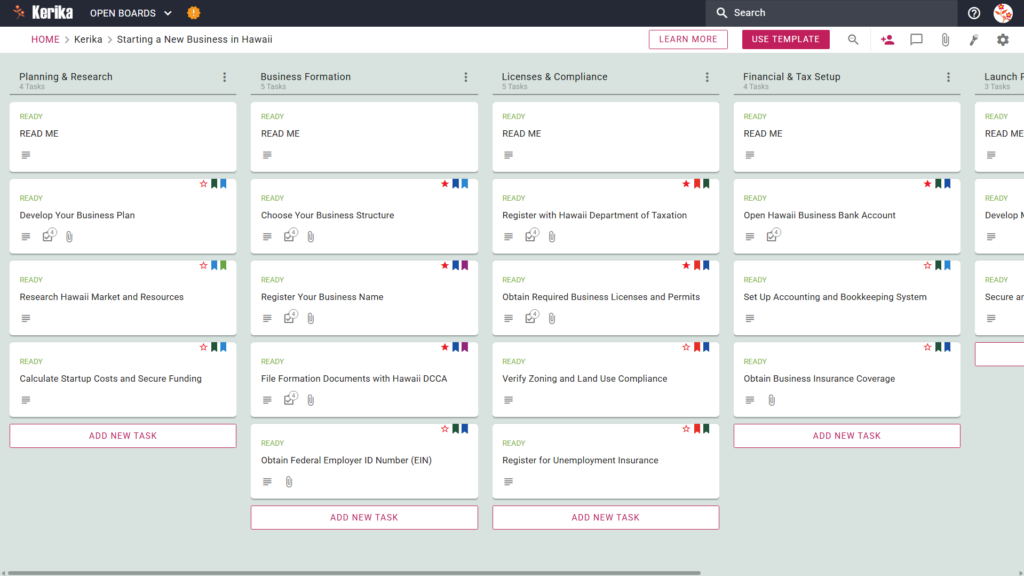
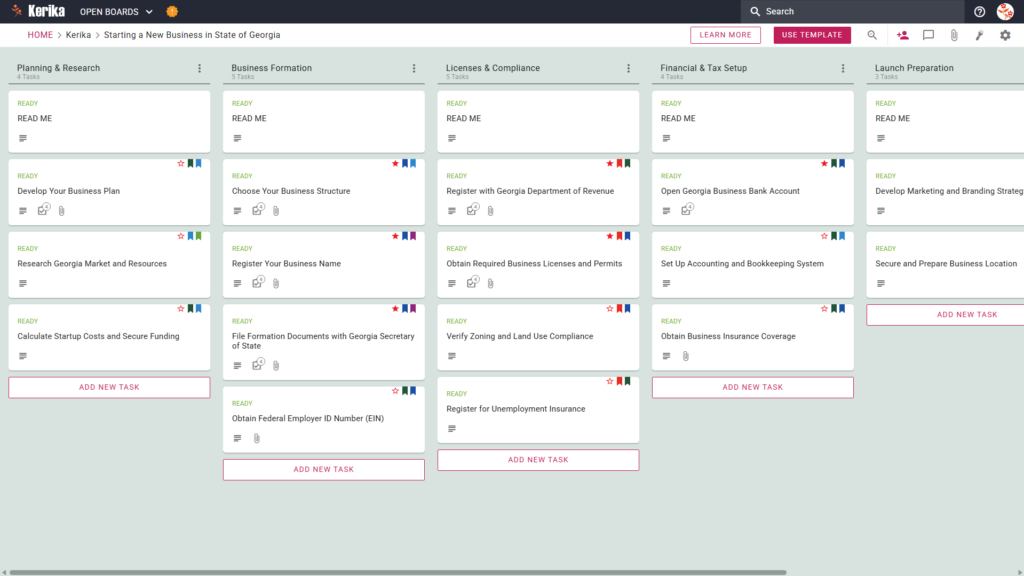
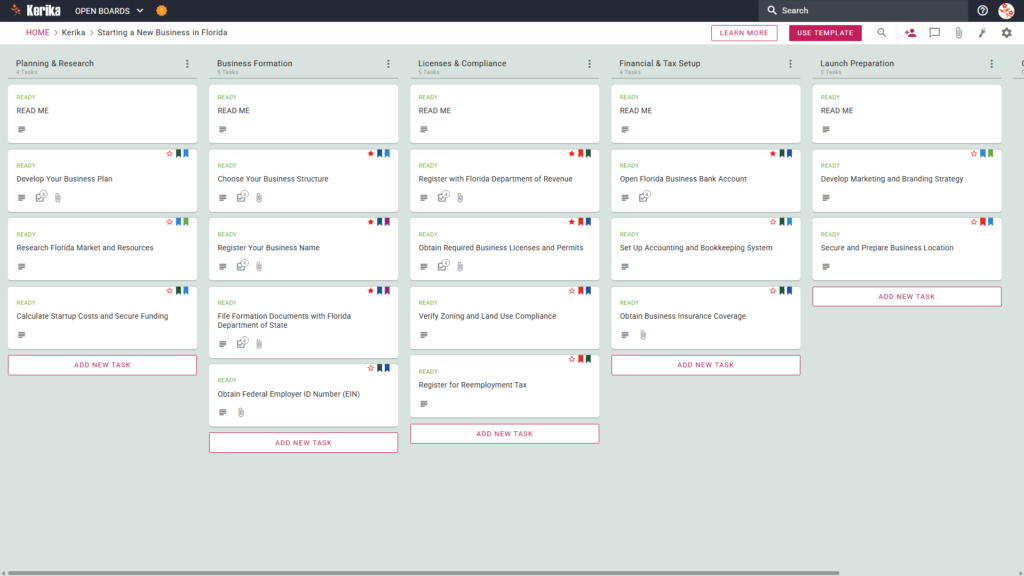
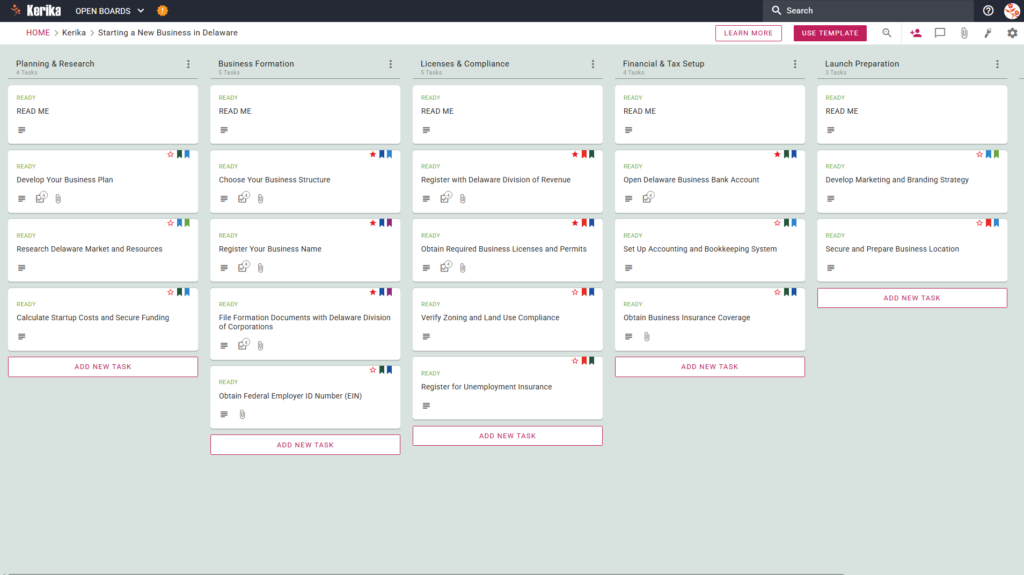
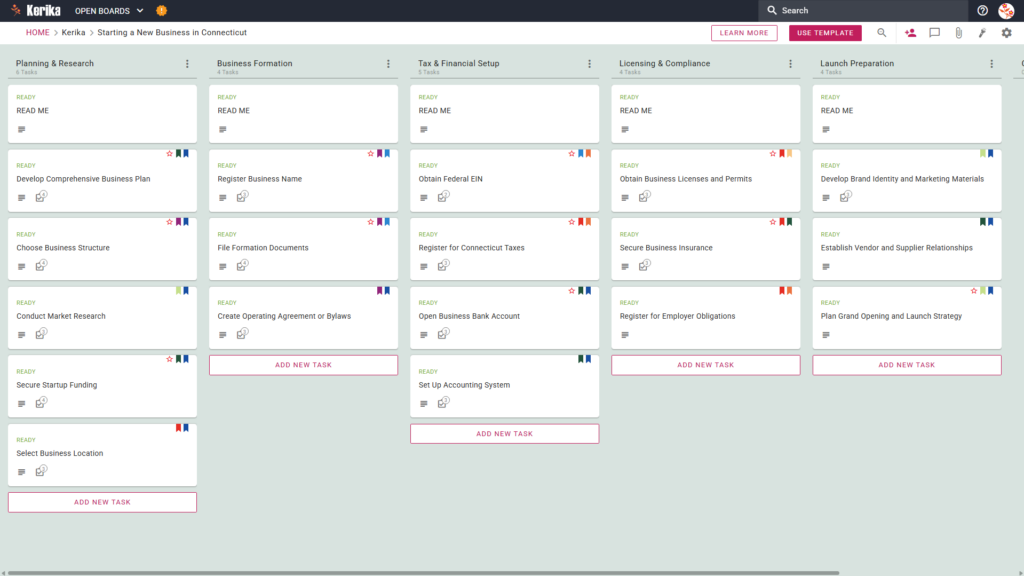
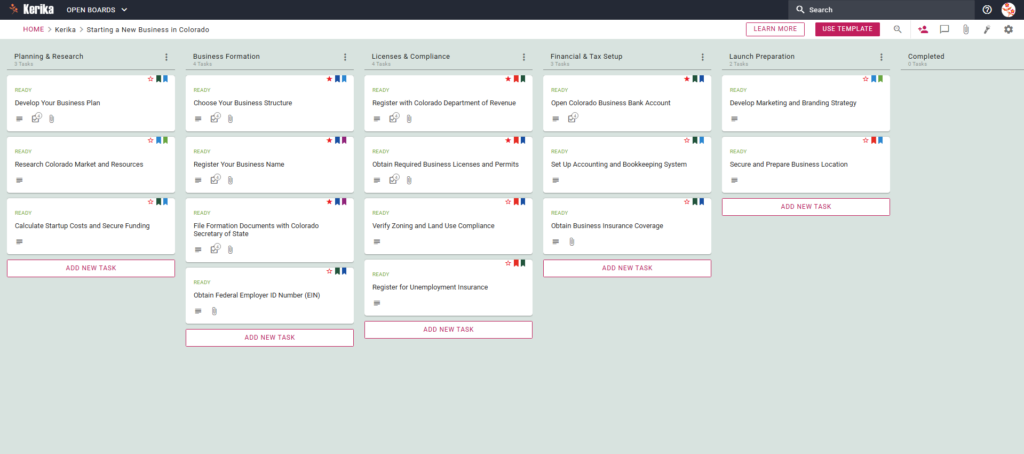
- A Six-Column Workflow: Your progress is tracked through the Planning & Research, Legal Structure, Registration & Licensing, Compliance & Setup, Launch Preparation, and Completed columns.
- Planning & Structure: Pre-configured cards include Research Iowa Business Requirements and Resources, Develop Business Plan and Financial Projections, and Prepare Formation Documents.
- Registration & Compliance: Dedicated cards are ready for Register Business with Iowa Secretary of State, Obtain Federal Employer Identification Number (EIN), Register for Iowa Tax Permits and Licenses, and Obtain Required Business Licenses and Permits.
- Financial Setup & Launch Preparation: To ensure a successful opening, the template includes cards for Set Up Business Banking and Accounting, Secure Business Insurance Coverage, and Establish Business Location and Workspace.
3. When You Should Use This
This workspace provides the most value when you are ready to turn a concept into a formal reality:
- Transitioning to formal execution: Use this template the moment you move from the conceptual “idea” phase to the active execution of your business setup.
- Navigating official requirements: It is the perfect tool for tracking progress as you navigate official requirements found on IASourceLink (business-resources), the official Iowa State government resource site.
- Establishing consistency: Use this to maintain a repeatable, reliable process for your formation documents and initial compliance filings, ensuring no detail is overlooked.
4. How To Use It
Managing your Iowa business setup is straightforward with these core Kerika features:
- The READ ME Card: You will find a “READ ME” card at the top of every column. Always check these first, as they contain specific rules on the criteria that must be met before adding or moving tasks to the next stage of the workflow.
- Advancing the Workflow: Only move cards from Planning & Research to Legal Structure once your business plan is finalised. This prescriptive logic ensures your legal filings are based on settled data and provides an instant overview of your startup’s status.
- The CHECKLIST Tab: Open every card and navigate to the CHECKLIST tab to manage sub-tasks. Check these off one-by-one to ensure that no detail, such as a specific date on a formation document or a signature on a permit, is ever missed.
- The ATTACHMENTS Tab: Use the ATTACHMENTS tab to upload reports, formation documents, or spreadsheets directly to the relevant card. These files stay in your secure cloud storage (Google Drive, OneDrive, or Box), and Kerika ensures they are shared automatically with the right team members.
Conclusion
Using the Kerika template for starting a new business in Iowa ensures your venture is supported by professional, organised preparation. By moving to a visual board, you eliminate the friction of administrative overhead and ensure your team has the “single source of truth” needed for success. Because Kerika integrates with your preferred cloud storage, you retain full ownership of your sensitive legal and financial documents while benefiting from a structured, collaborative environment.
Need Something Different?
If this template isn’t exactly what you need, let us know at support@kerika.com and we will create a custom version for you, free!