The new horizontal tabs layout of Kerika comes with a new Home Board: a single place to find all your projects and templates.
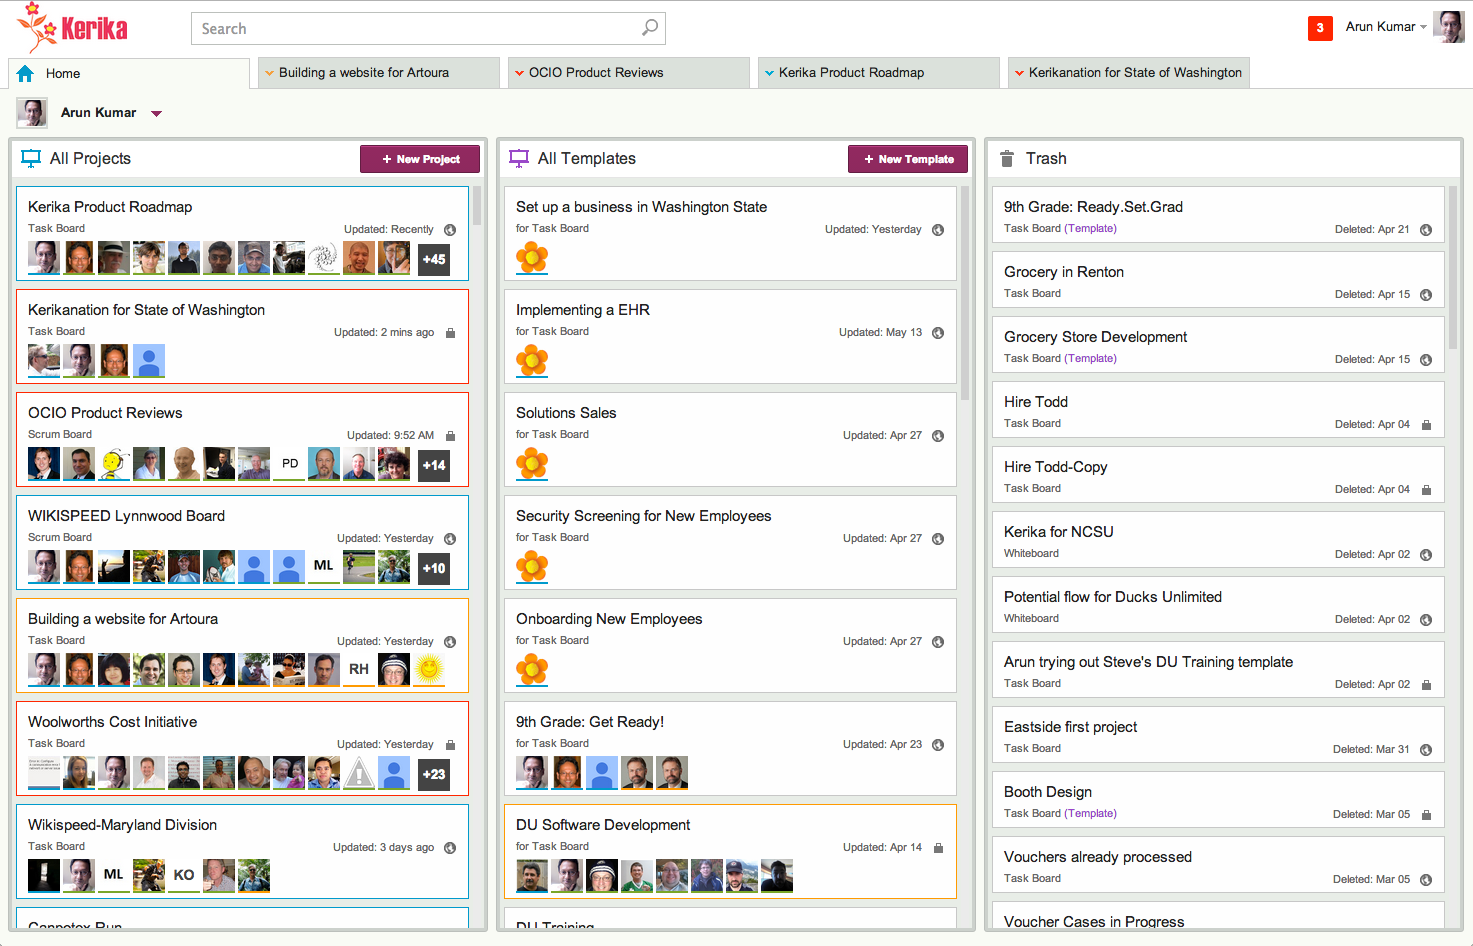
The Home Board always appears pinned to the left of the Kerika application: it is a special board, and it cannot be closed or moved.
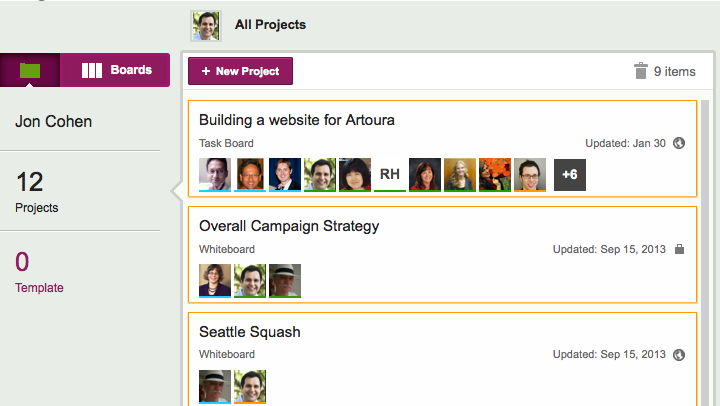
The Home Board is organized into three columns:
- All Projects: this contains cards for all the projects where you are part of the project team. Some of these projects may be in your own account; some may be owned by other people. Note: this isn’t a list of all the project you own; just a list of all the project where you are part of the team.
- All Templates: this contains cards for the templates you can use. This includes templates you have created; templates where you have been added to the project team; and templates provided by Kerika.
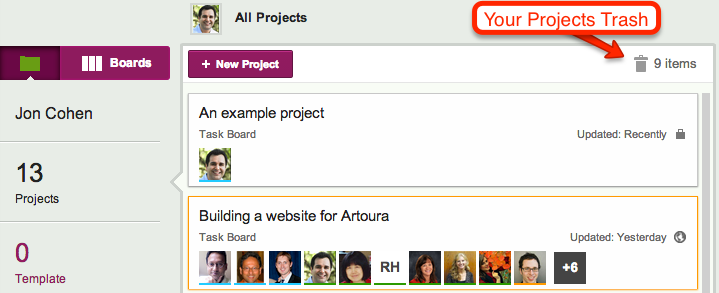
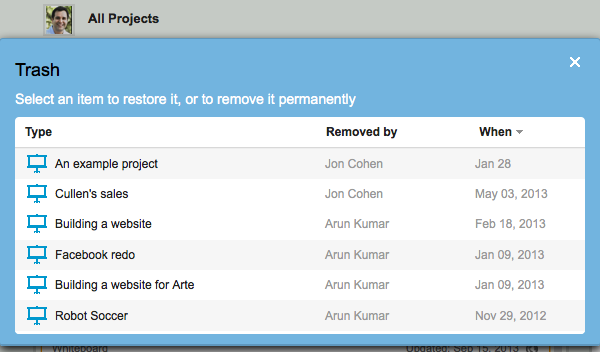
- Trash: this contains all projects and templates that you have deleted. As before, the Trash acts as a Recycle Bin: you can delete a project or template, and then retrieve it later if you change your mind.
The new design makes it easy to create projects from templates, and to create templates from projects:
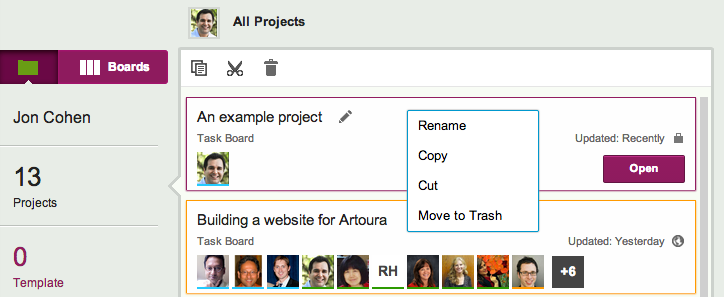
- If you want to create a project from a template, simply drag the template card over to the All Projects column and drop it there: you will be prompted to give a name to your project, and that’s all it takes.
- Similarly, if you want to create a template from a project, just drag the project card over to the All Templates column and drop it there.
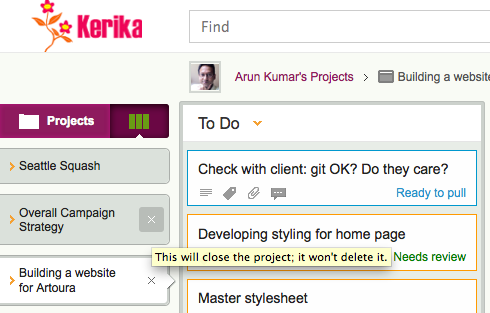
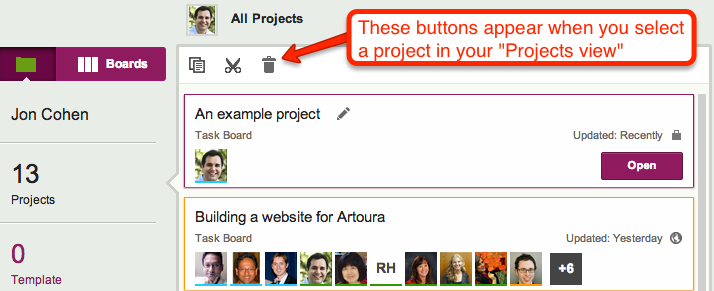
- If you want to delete a project or template, simply drag the card over to the Trash column.
As we pointed out earlier: “All Projects” is the list of all project where you are on the team, but your account may contain other projects where you are not part of the team.
If you want to see just the projects that are owned by a particular account (to which you have access), click on your name or photo in the upper-left, and you will see a drop-down list of all the accounts you can access:
If you switch from “All Projects” to a particular account, you will be able to see all the projects in that account where you are part of the project team, or the project is open to the public to view.
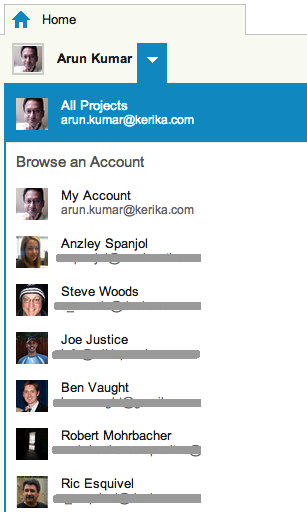
Switch from “All Projects” to any of the accounts you can access, and you will see all the projects and templates in that account that you have access: where you are on the project team, or the project is open to the public to view.
And if you switch to My Account, you will see all the projects that you own.