Animation often gets a bad reputation, and often this reputation is well deserved because too many designers and developers use animation gratuitously: just because they can, or just because they want to show off their technical skills.
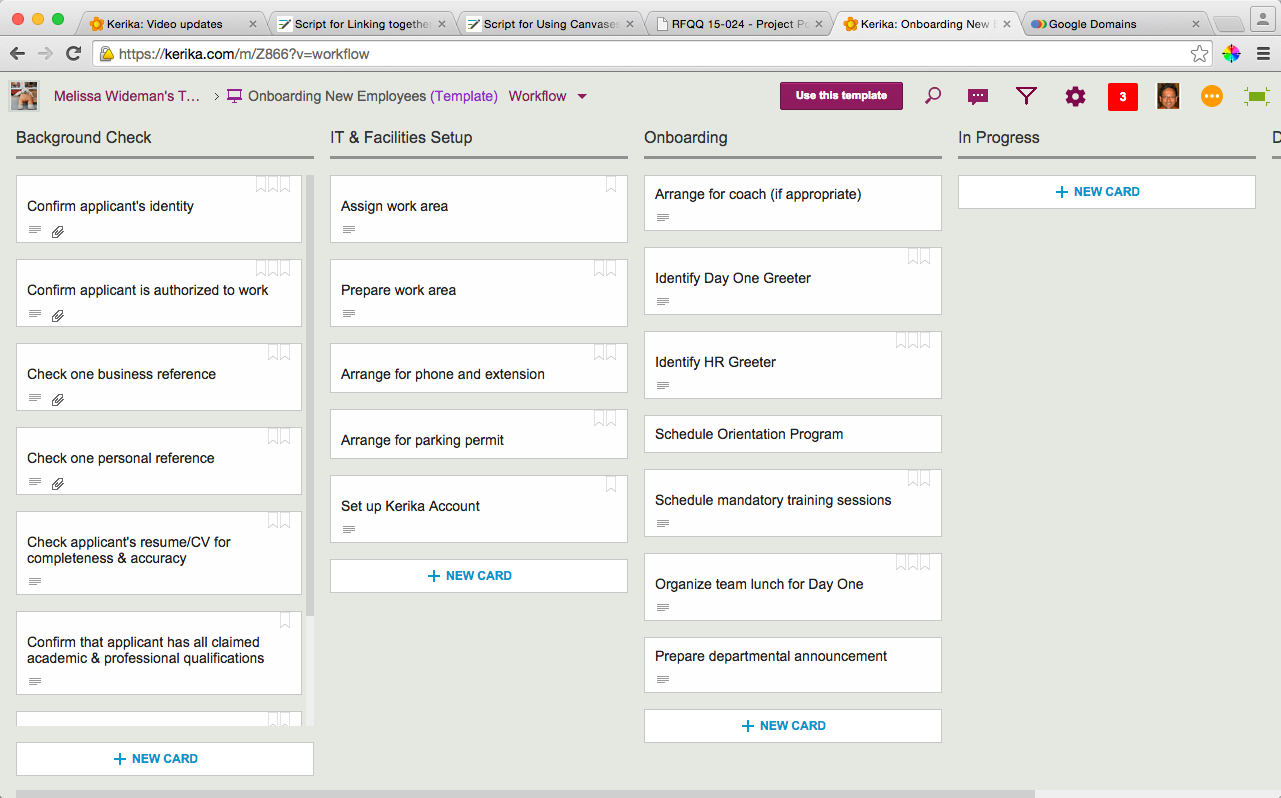
At Kerika we have been very cautious about using animation, and have generally restricted its use to scenarios where it can help give users a “sense of place”: providing transitions from one display to another, so that a user has a sense of having journeyed from one part of the system to another.
Animations are particular useful when returning to where you come from: an effective animation can help users understand that they have returned from their journey.
Using animation to unfold drop-down dialogs helps the user understand that the dialogs are literally unfurling on top of the Task Board or Scrum Board: in other words, the user isn’t going anywhere different, just unfolding another display for temporary use.
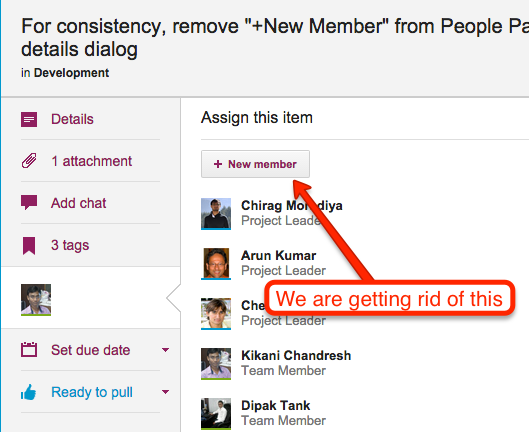
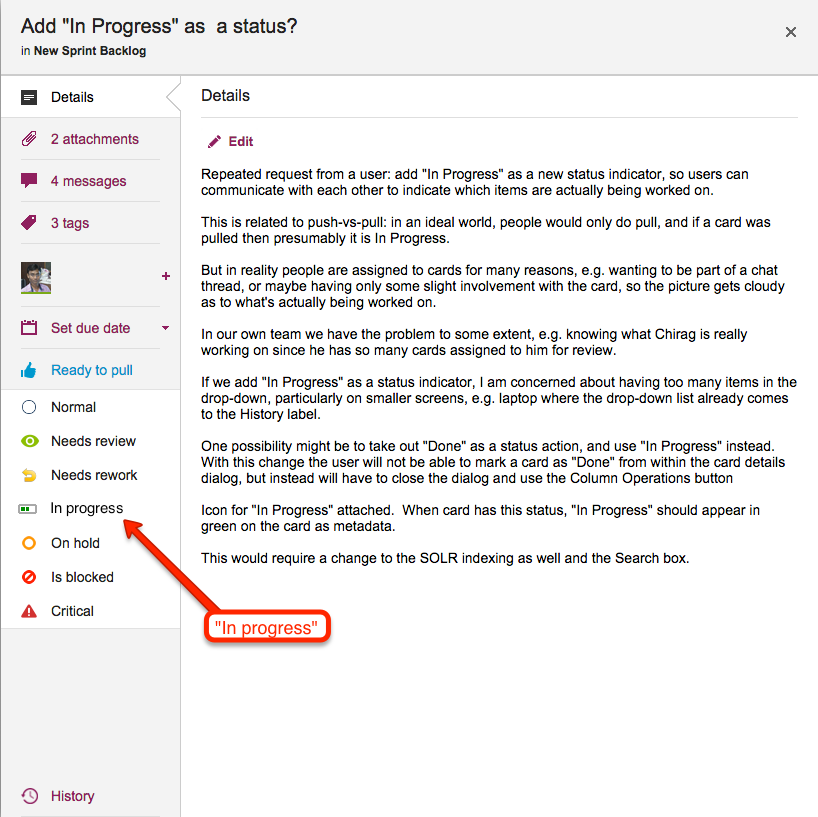
With our latest version, we added some more animation: now, when you open a card on your Task Board or Scrum Board, it will appear to literally open in front of your eyes.
Animation is also used when you close a card: it appears to collapse in front of you in a way that draws your eye to its position within a crowded column.
This kind of animation, we believe, is useful rather than gratuitous: it helps the user understand what is happening when she opens or closes a card.
(We may consider some other touches of animation where we think it could help provide useful transitions, but we have to be mindful of the performance hit of animations as well…)