Along with the new Undo feature we have added a Zoom button that appears on the top-right of the app, on laptops, desktops and tablets:

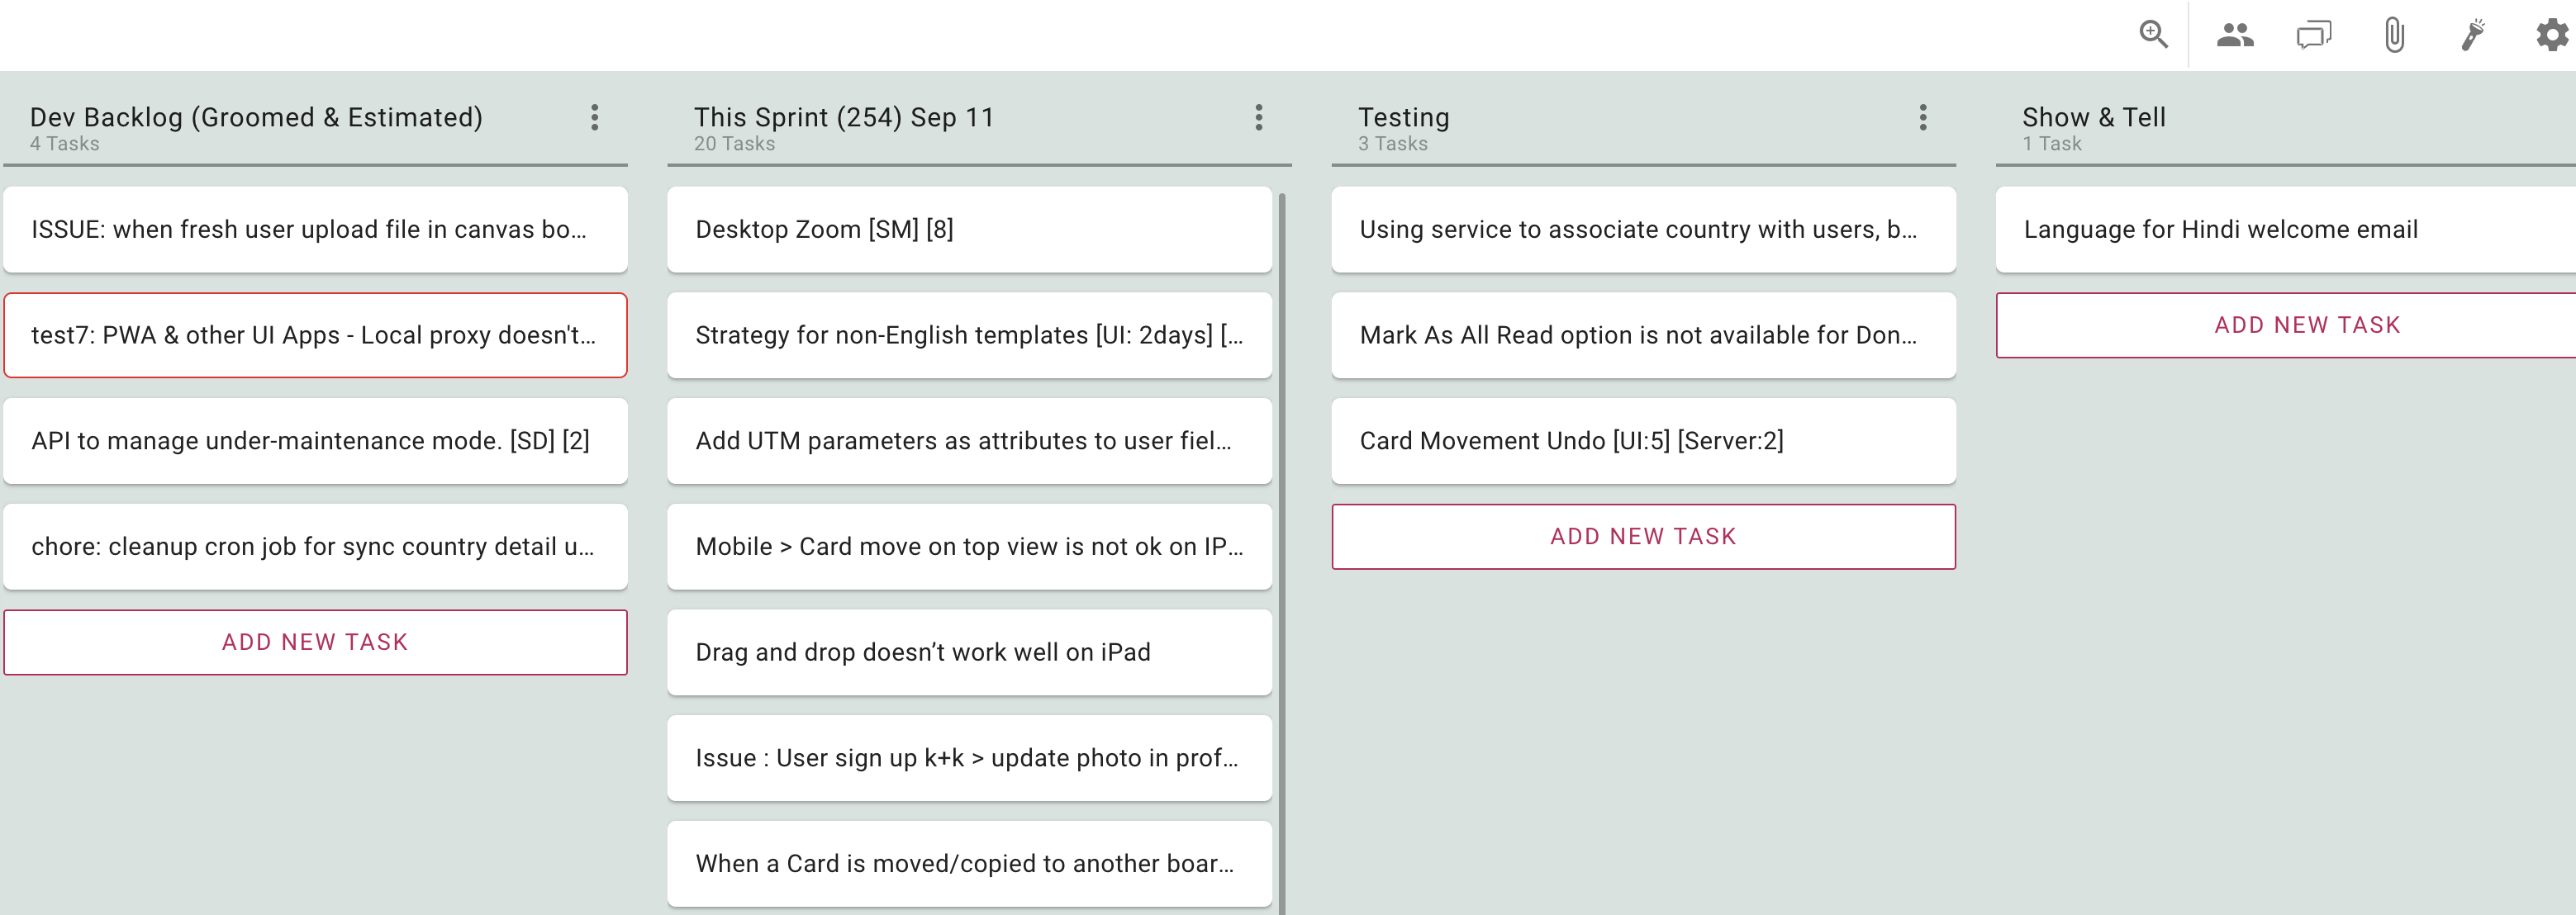
When zoomed out, the board shows all tasks (cards) as a single line, and this is handy if you are dealing with a large board. Here’s what a zoomed-out view looks like:
This feature has existed for a while in our mobile apps; now you can use it on your desktop as well.
We have also improved this feature on mobile to make it possible for you to add new tasks while you are zoomed-out.