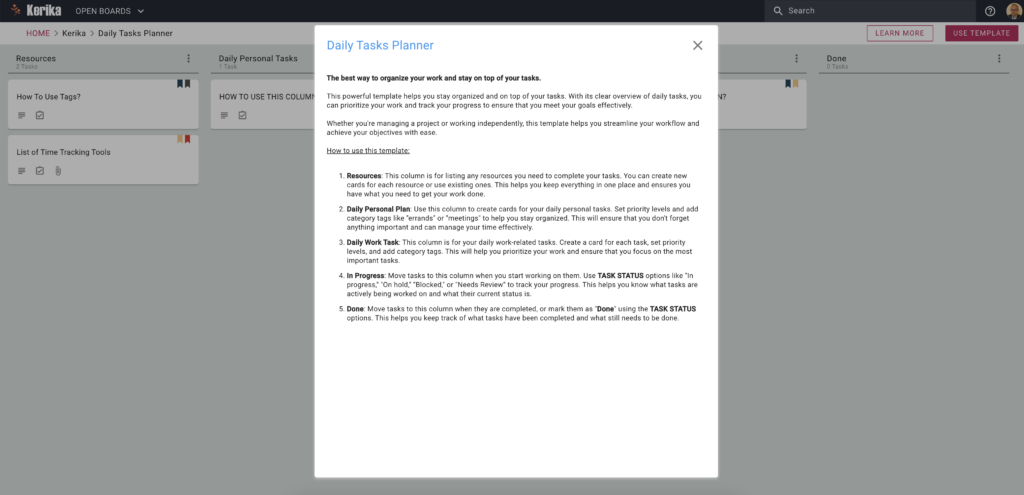
The best way to organize your work and stay on top of your tasks.
This powerful template helps you stay organized and on top of your tasks. With its clear overview of daily tasks, you can prioritize your work and track your progress to ensure that you meet your goals effectively.
Whether you’re managing a project or working independently, this template helps you streamline your workflow and achieve your objectives with ease.
How to use this template:
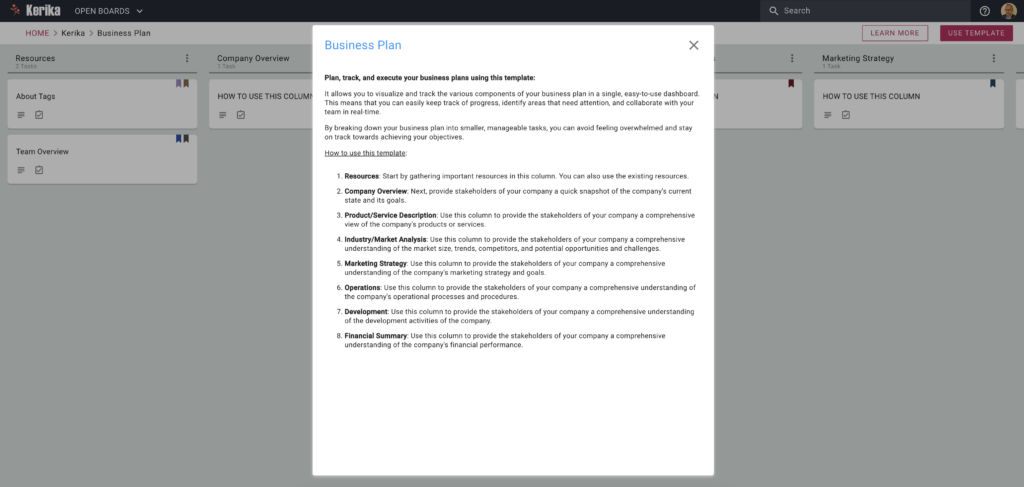
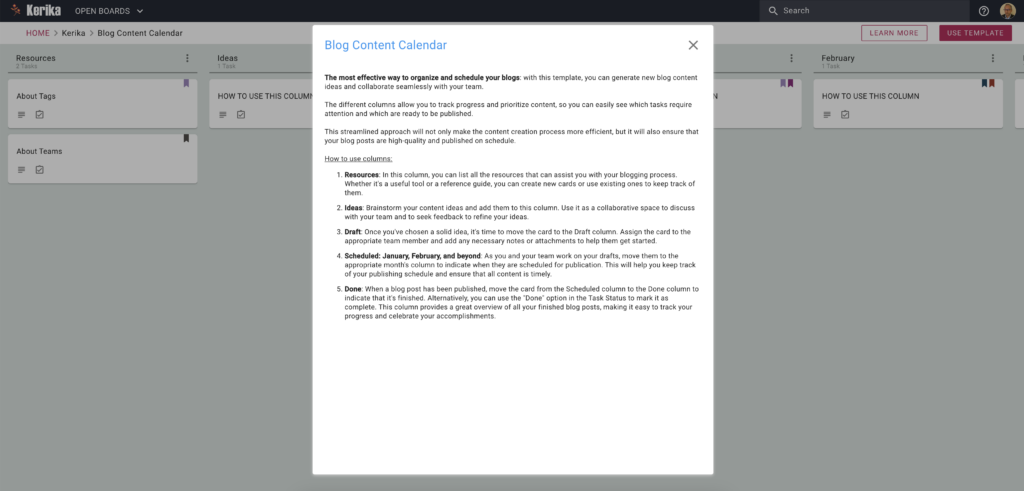
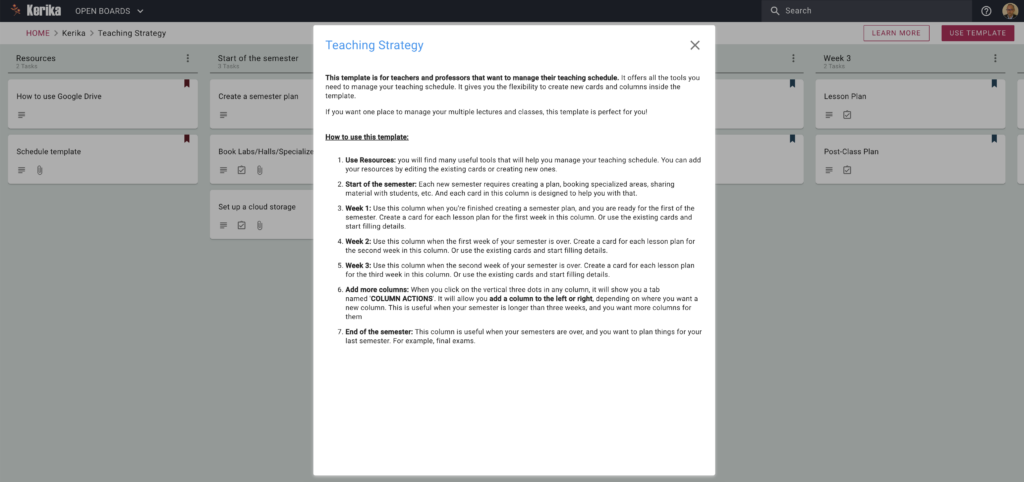
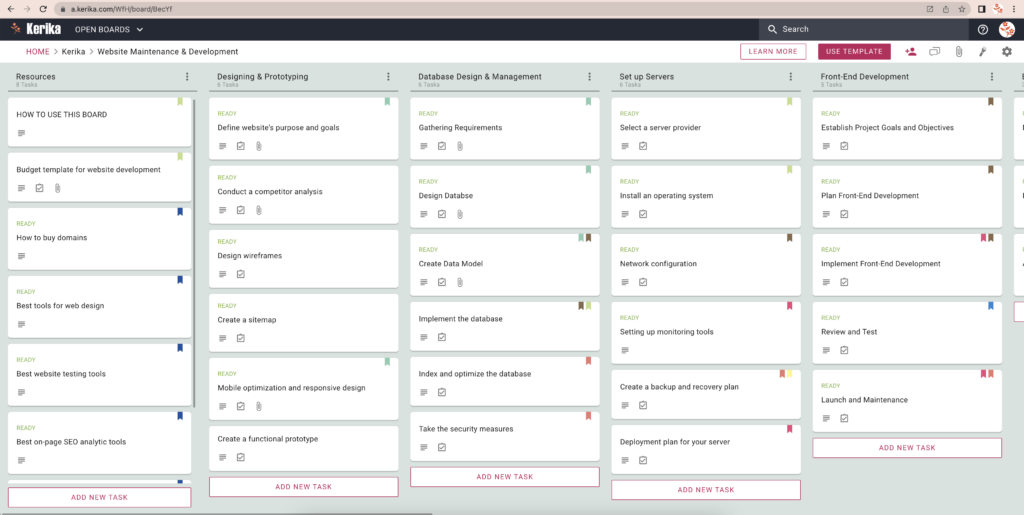
- Resources: This column is for listing any resources you need to complete your tasks. You can create new cards for each resource or use existing ones. This helps you keep everything in one place and ensures you have what you need to get your work done.
- Daily Personal Plan: Use this column to create cards for your daily personal tasks. Set priority levels and add category tags like “errands” or “meetings” to help you stay organized. This will ensure that you don’t forget anything important and can manage your time effectively.
- Daily Work Task: This column is for your daily work-related tasks. Create a card for each task, set priority levels, and add category tags. This will help you prioritize your work and ensure that you focus on the most important tasks.
- In Progress: Move tasks to this column when you start working on them. Use TASK STATUS options like “In progress,” “On hold,” “Blocked,” or “Needs Review” to track your progress. This helps you know what tasks are actively being worked on and what their current status is.
- Done: Move tasks to this column when they are completed, or mark them as “Done” using the TASK STATUS options. This helps you keep track of what tasks have been completed and what still needs to be done.